Automate Your Law Firm's Wiki

Did you miss out on the ABA Techshow? Want a step-by-step walkthrough, creating a useful, practical automation ready for your firm? Let's automate your law firm's wiki!

Automate Your Law Firm's Wiki
Photo by Paico Oficial / Unsplash

Jump to Guide

Streamlining Your Law Practice with No-Code Solutions

In today's fast-paced, technology-driven world, businesses and organizations constantly look for ways to simplify and streamline their processes. This is especially true for law firms, where efficiency and productivity are critical to success. One way to achieve this is by using an internal wiki, a centralized online database that all firm employees can access.

What is an Internal Wiki, and How Can It Benefit Your Law Firm?

An internal wiki is a collaborative online platform allowing law firm employees to share information, ideas, and knowledge. It is an effective tool for facilitating communication and collaboration within the organization.

The benefits of having an internal wiki for your law firm are numerous. Firstly, it provides a centralized location for storing and accessing information, making it easier for employees to find what they need quickly. Secondly, it promotes collaboration and team projects by allowing multiple users to edit and contribute to the wiki. Thirdly, it improves knowledge management by capturing and organizing institutional knowledge that may otherwise be lost when employees leave the firm. Finally, it can help your law firm stay up-to-date with changes in the legal industry by providing a platform for sharing news and updates.

Types of Internal Wikis Suitable for Law Firms

There are various types of internal wikis suitable for law firms. The most common ones include the following:

  • Knowledge Management Wikis: These wikis capture and organize institutional knowledge, including frequently asked questions (FAQs), legal precedents, and other relevant information.
  • Project Management Wikis: These wikis are designed to collaborate on specific projects. They can include project timelines, tasks, and progress updates.
  • Policy and Procedures Wikis: These wikis provide information about the firm's policies and procedures, including human resources policies, cybersecurity policies, and conflict of interest policies.

Implementing an Internal Wiki for Your Law Firm

As a law firm, having a centralized information hub that houses all the necessary information about your firm and its operations is crucial. An internal wiki lets employees access essential information like policies, procedures, and best practices. Implementing an internal wiki for your law firm is easy with these steps:

  • Identify the purpose of your wiki: Clearly define the specific information you want to capture in your wikis, such as a knowledge base, project collaboration platform, or policies and procedures hub.
  • Think about the structure of your wiki: Consider how the information will be organized and presented, including using categories or tags to help users find what they need more quickly. Create a table of contents or index page to provide an overview of the content in the wiki.
  • Include guidelines for how to use the wiki: Provide instructions on how to add or edit content, rules for maintaining confidentiality and security, and best practices for collaboration.
  • Write clear and concise content: Use plain language instead of legal jargon to ensure all employees can access and understand the information.

Guide

What you'll need

  • A Google account
  • A Zapier account

What this guide isn't

  • A guide on every possible permutation of email, spreadsheets, and wiki that might exist
  • An endorsement of any particular tool
  • A final destination for your automation needs

What this guide is

  • An introduction to possibilities with automation
  • An attempt to get you to think through your processes and automation opportunities
  • A first step
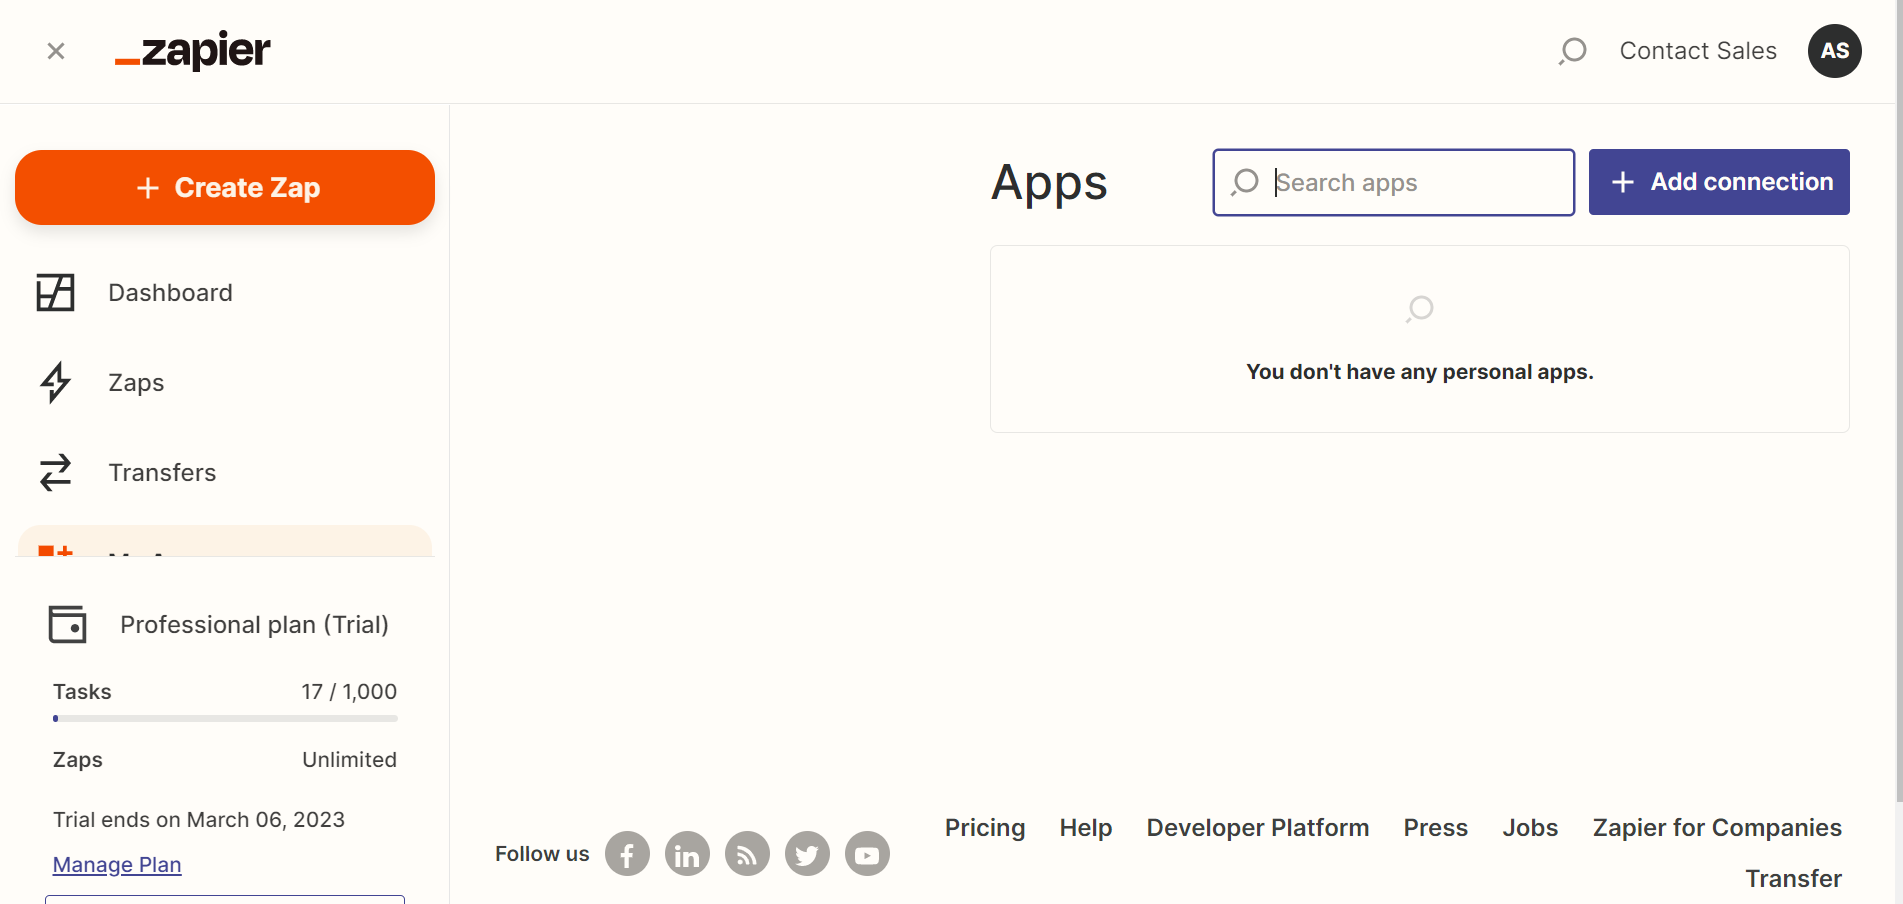
Log in to your Zapier account and click on "My Apps"
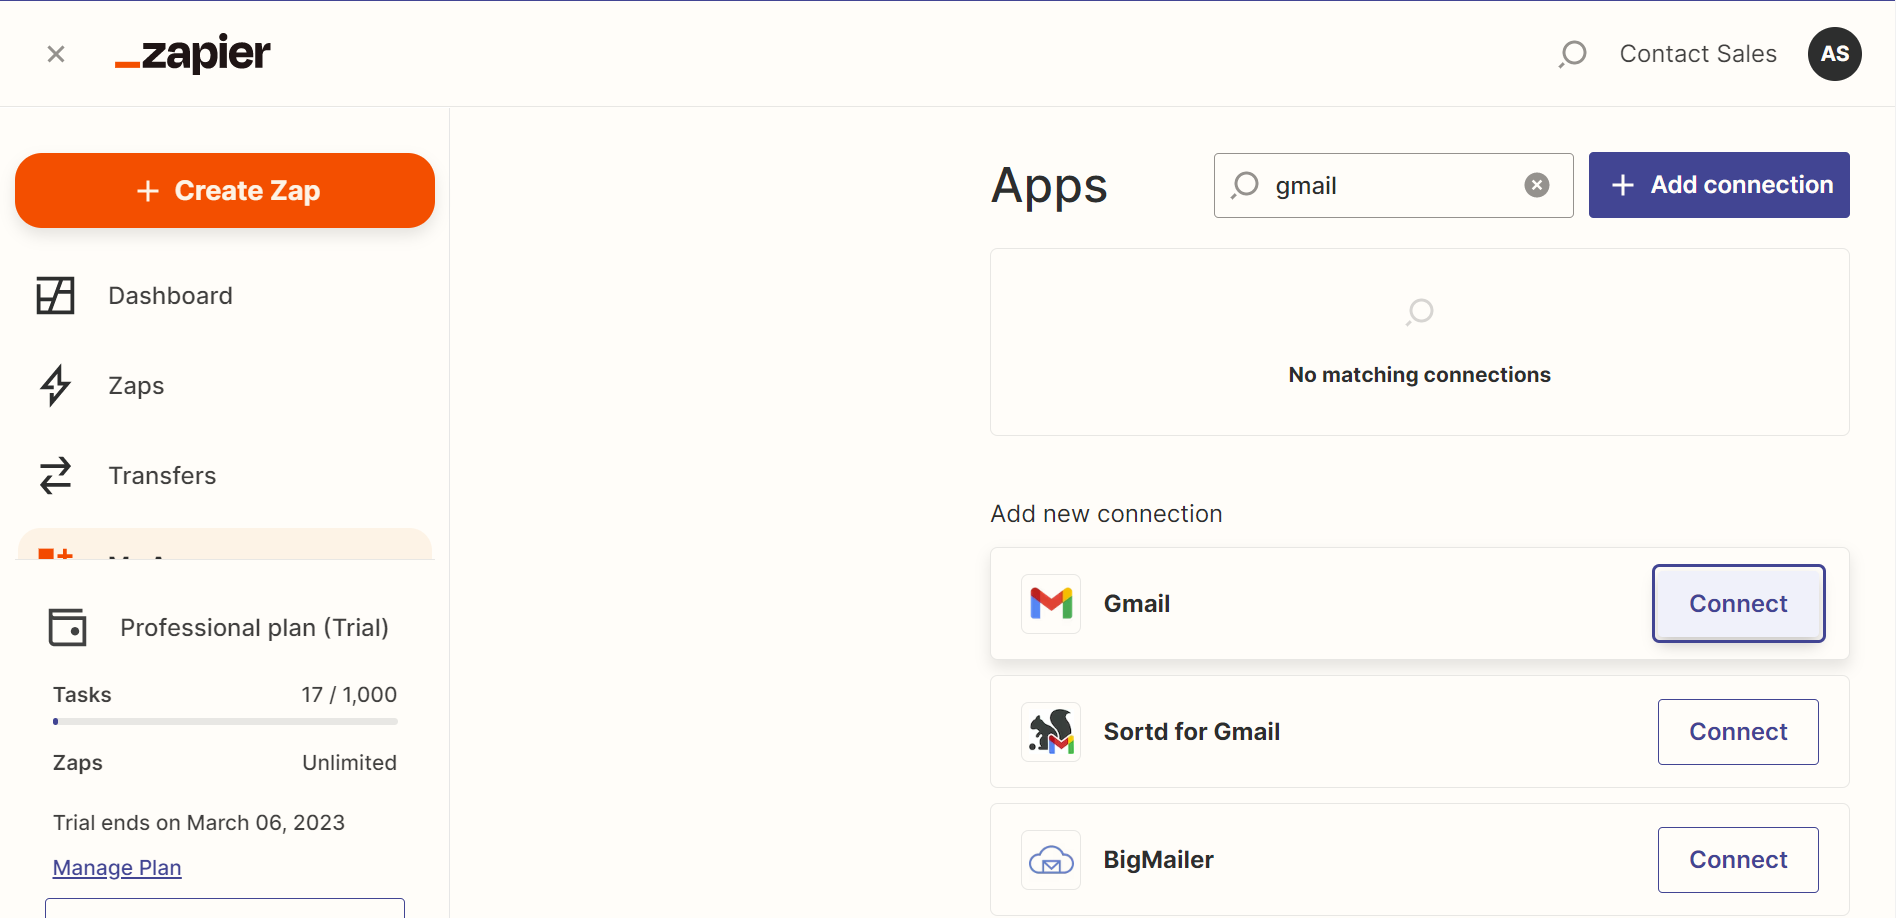
Under the "Add Connection" box, type in "gmail" and then click the "Connect" button.
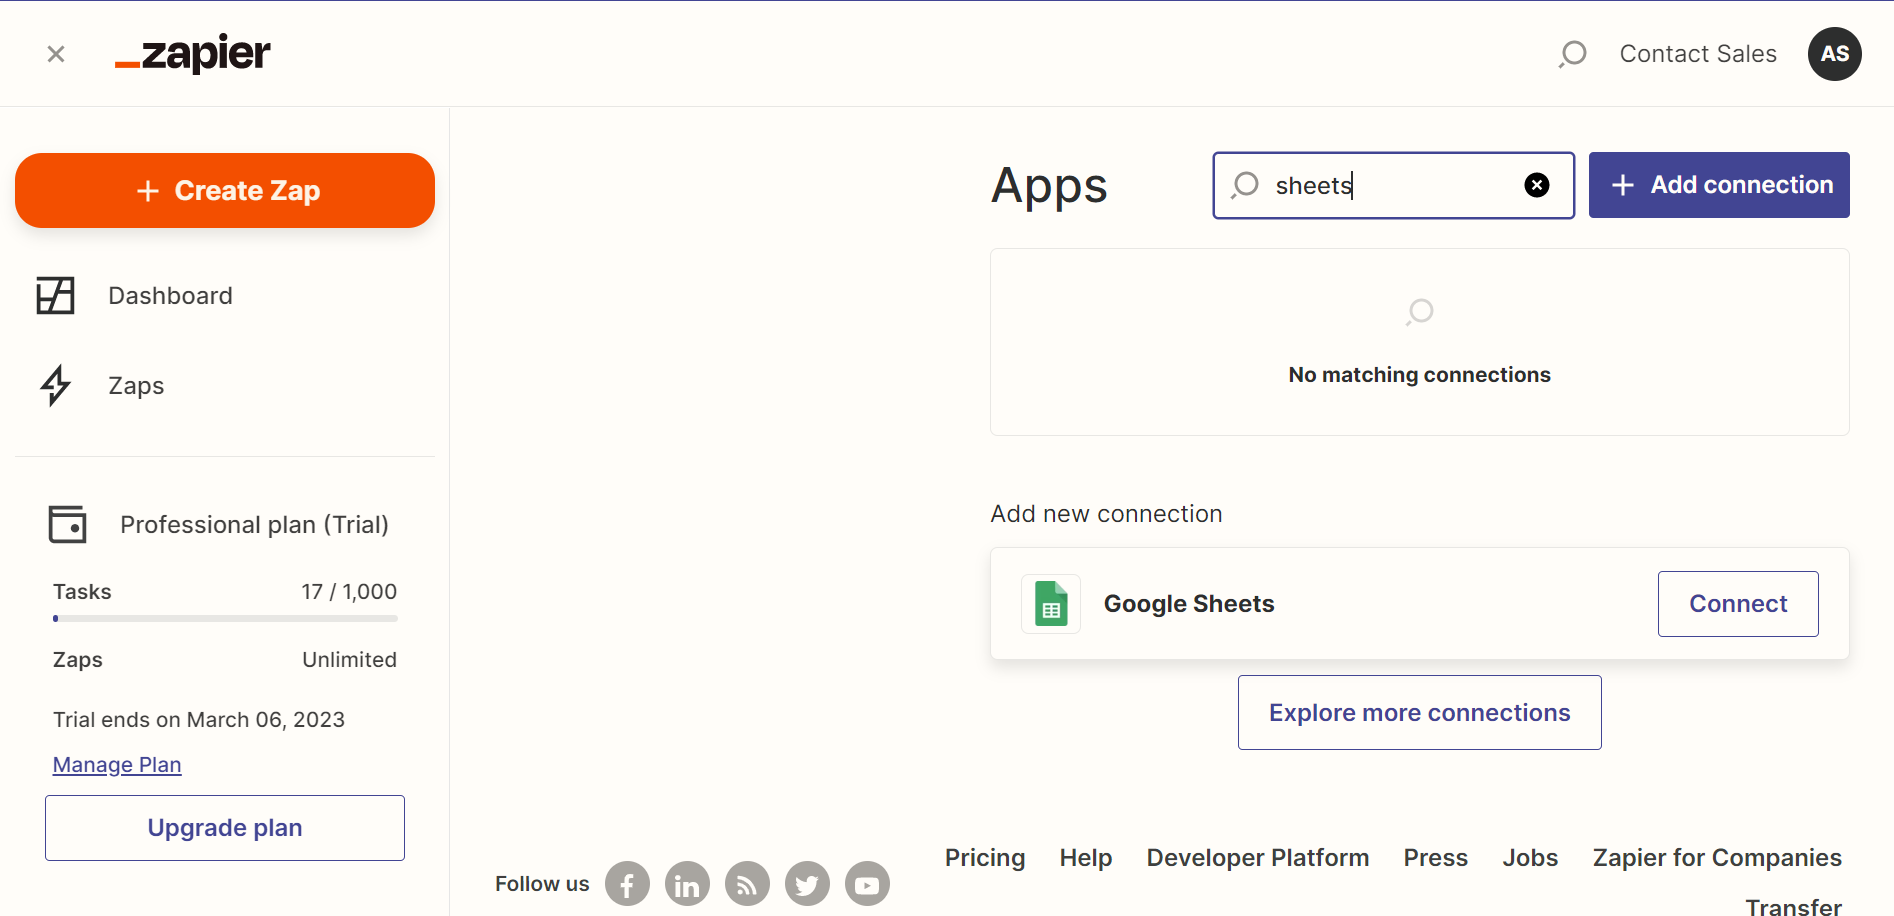
Under the "Add Connection" box, type in "sheets" and then click the "Connect" button.
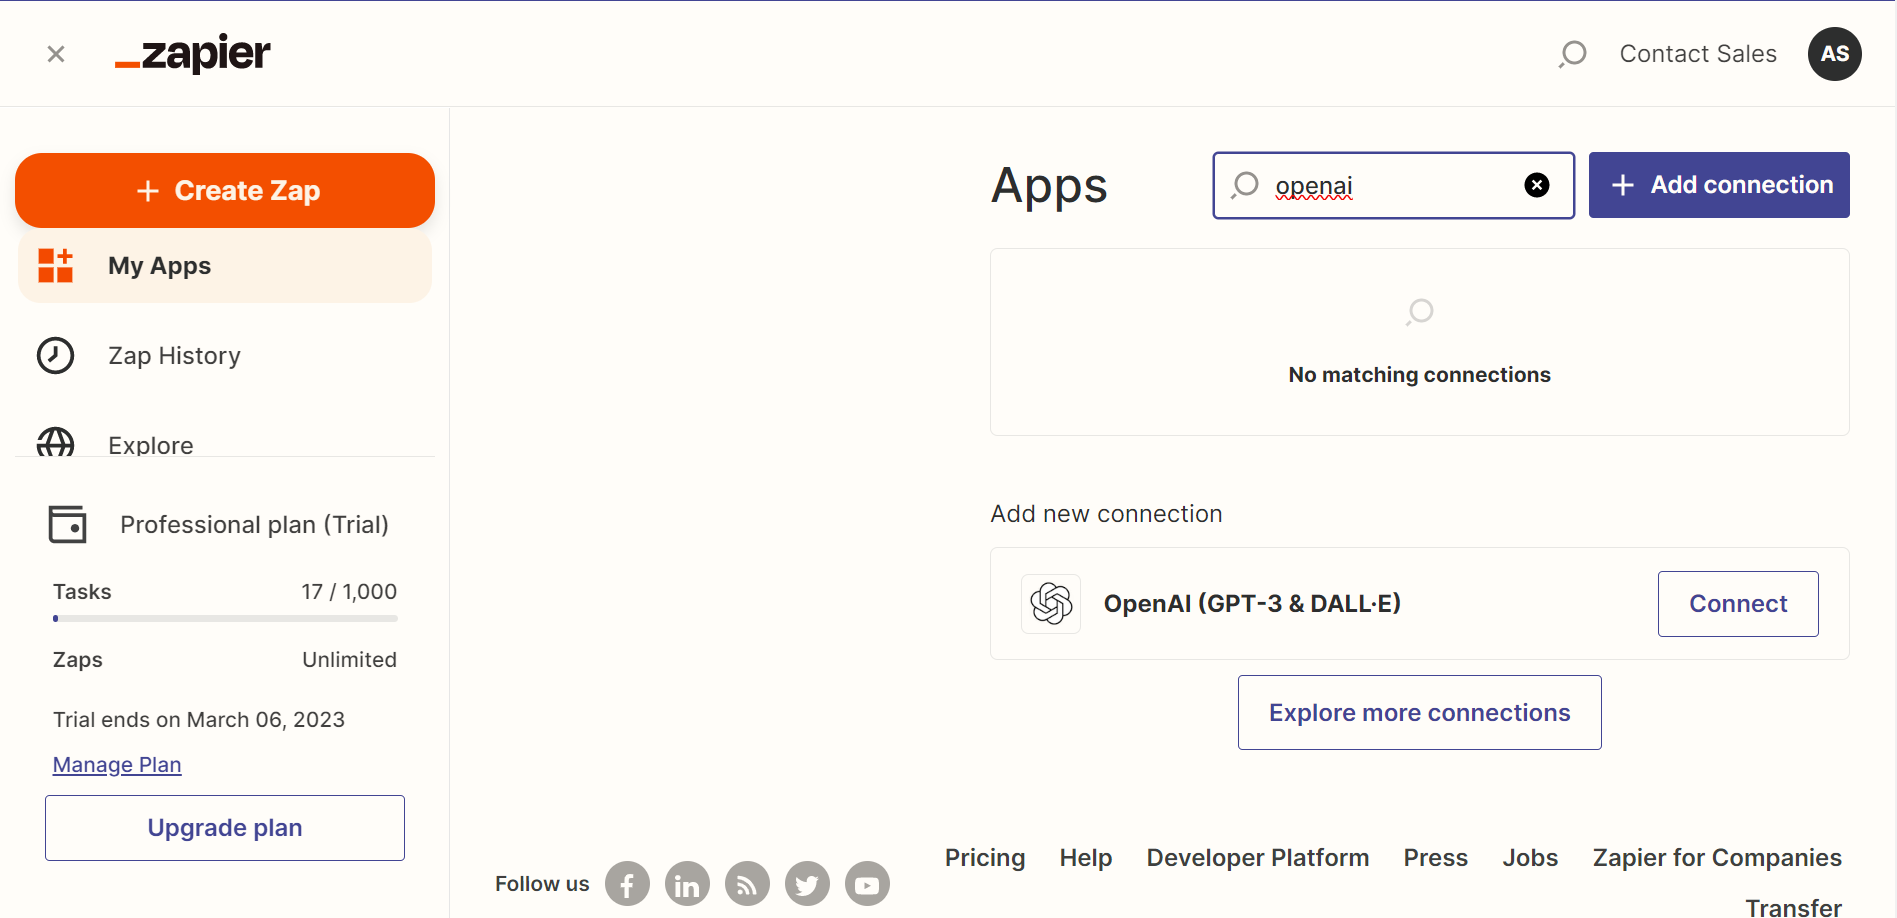
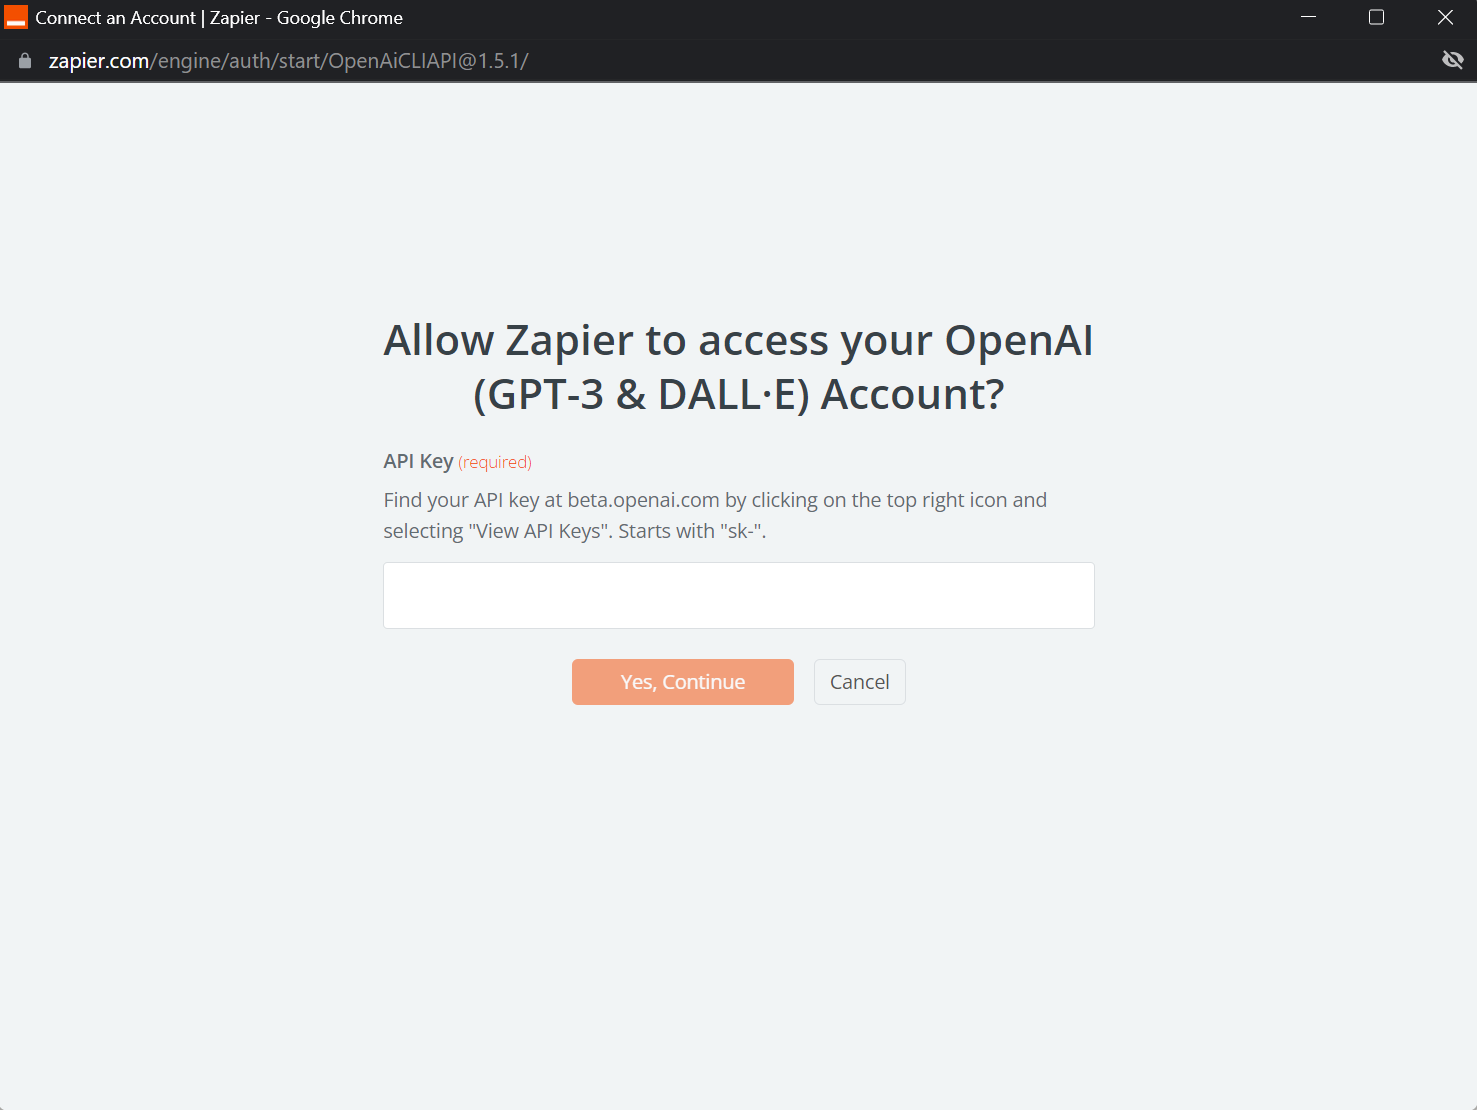
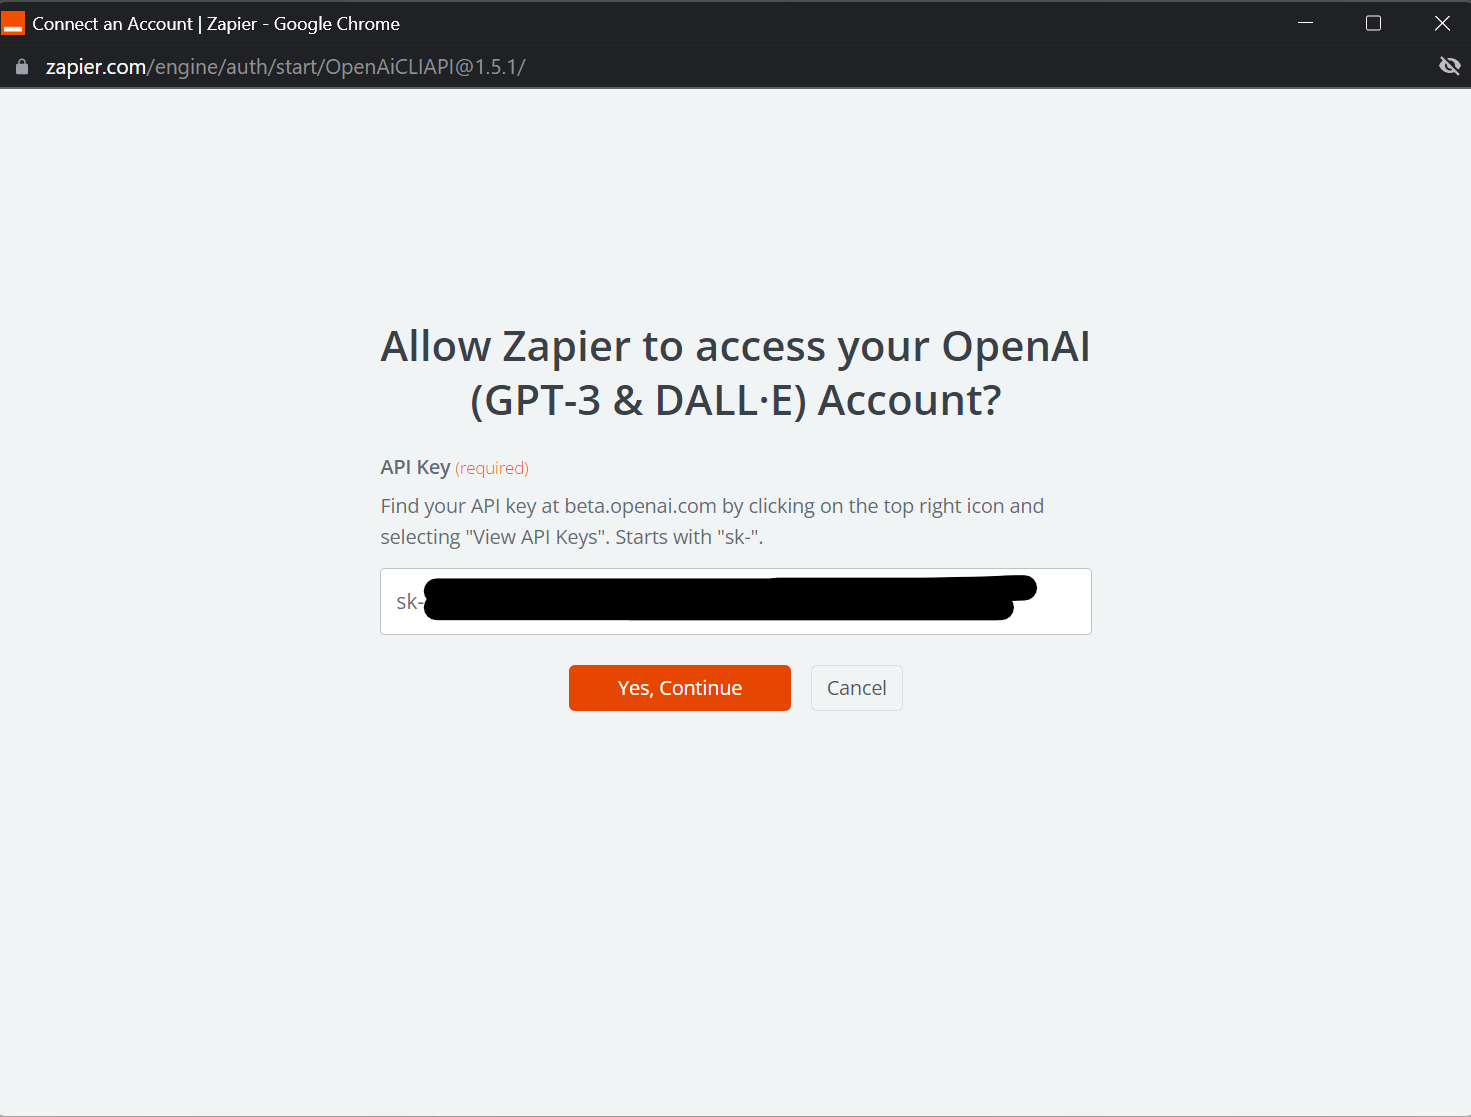
Under the "Add Connection" box, type in "openai" and then click the "Connect" button.
Zapier will request your "API Key."
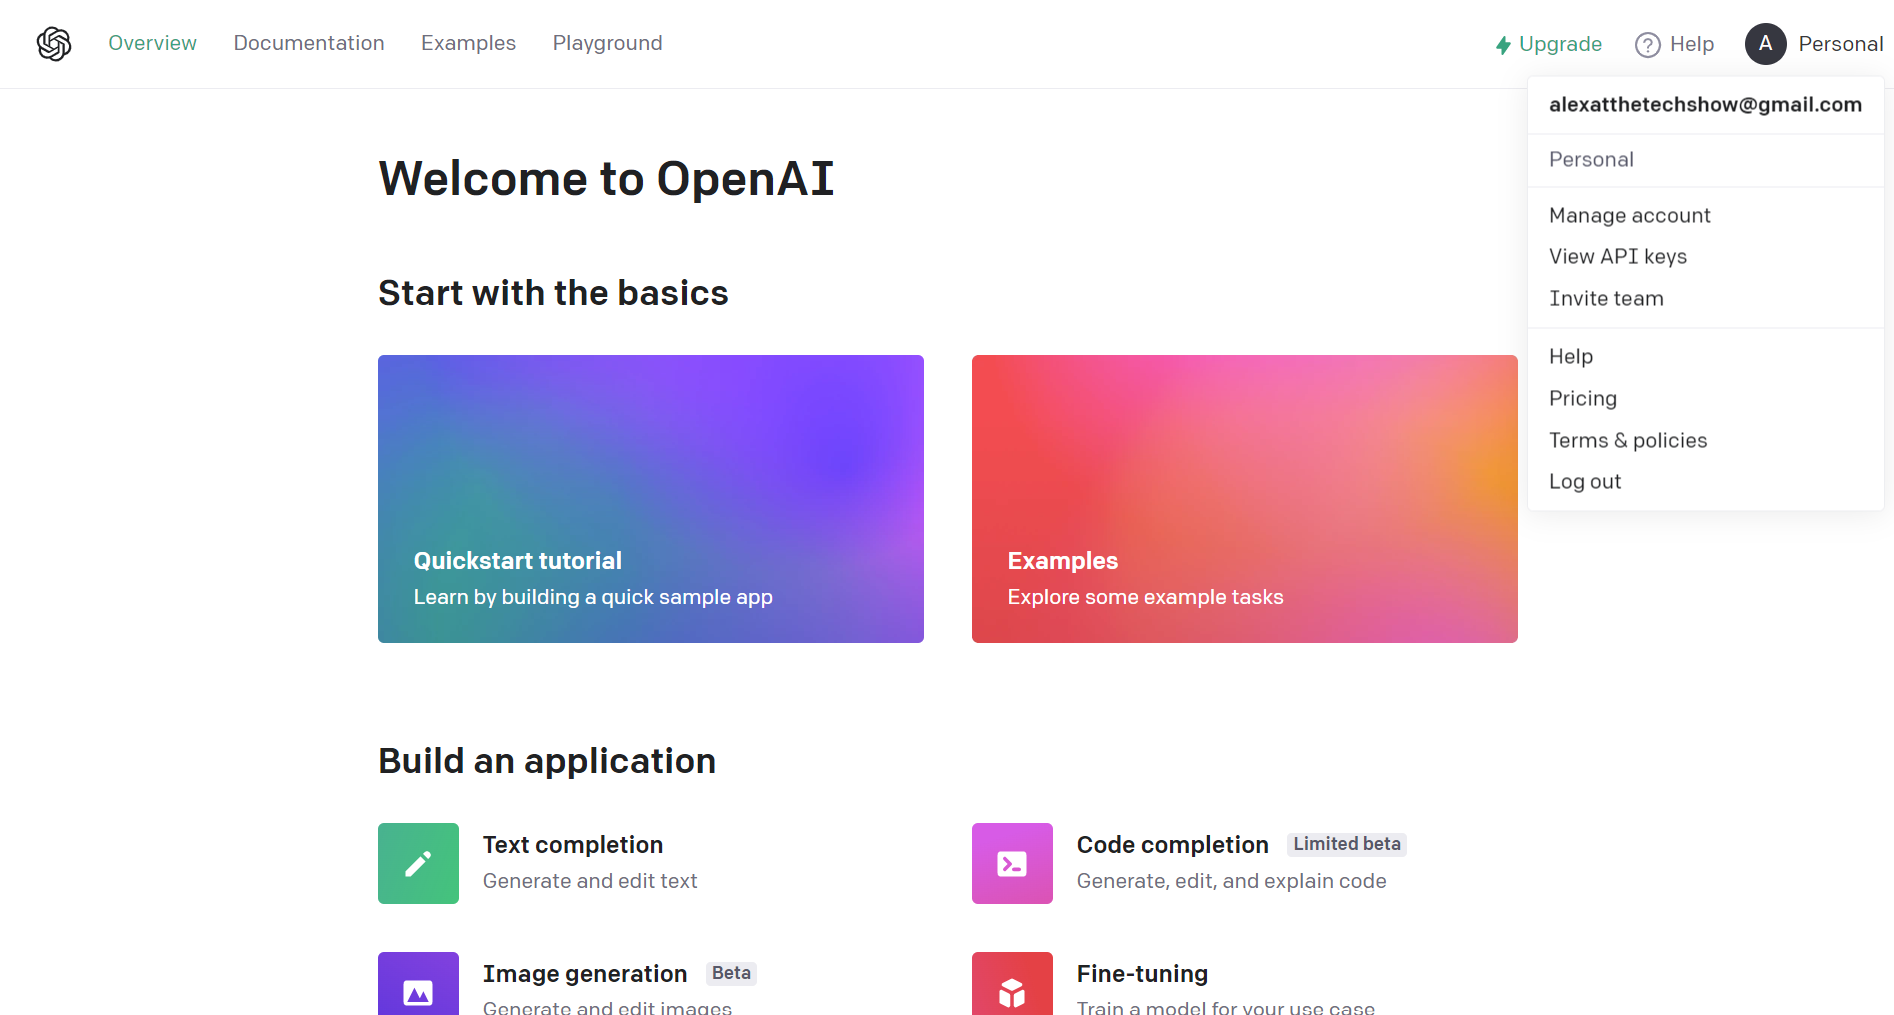
Log in to your OpenAI account, click on your avatar in the upper right-hand corner, then click "View API keys."
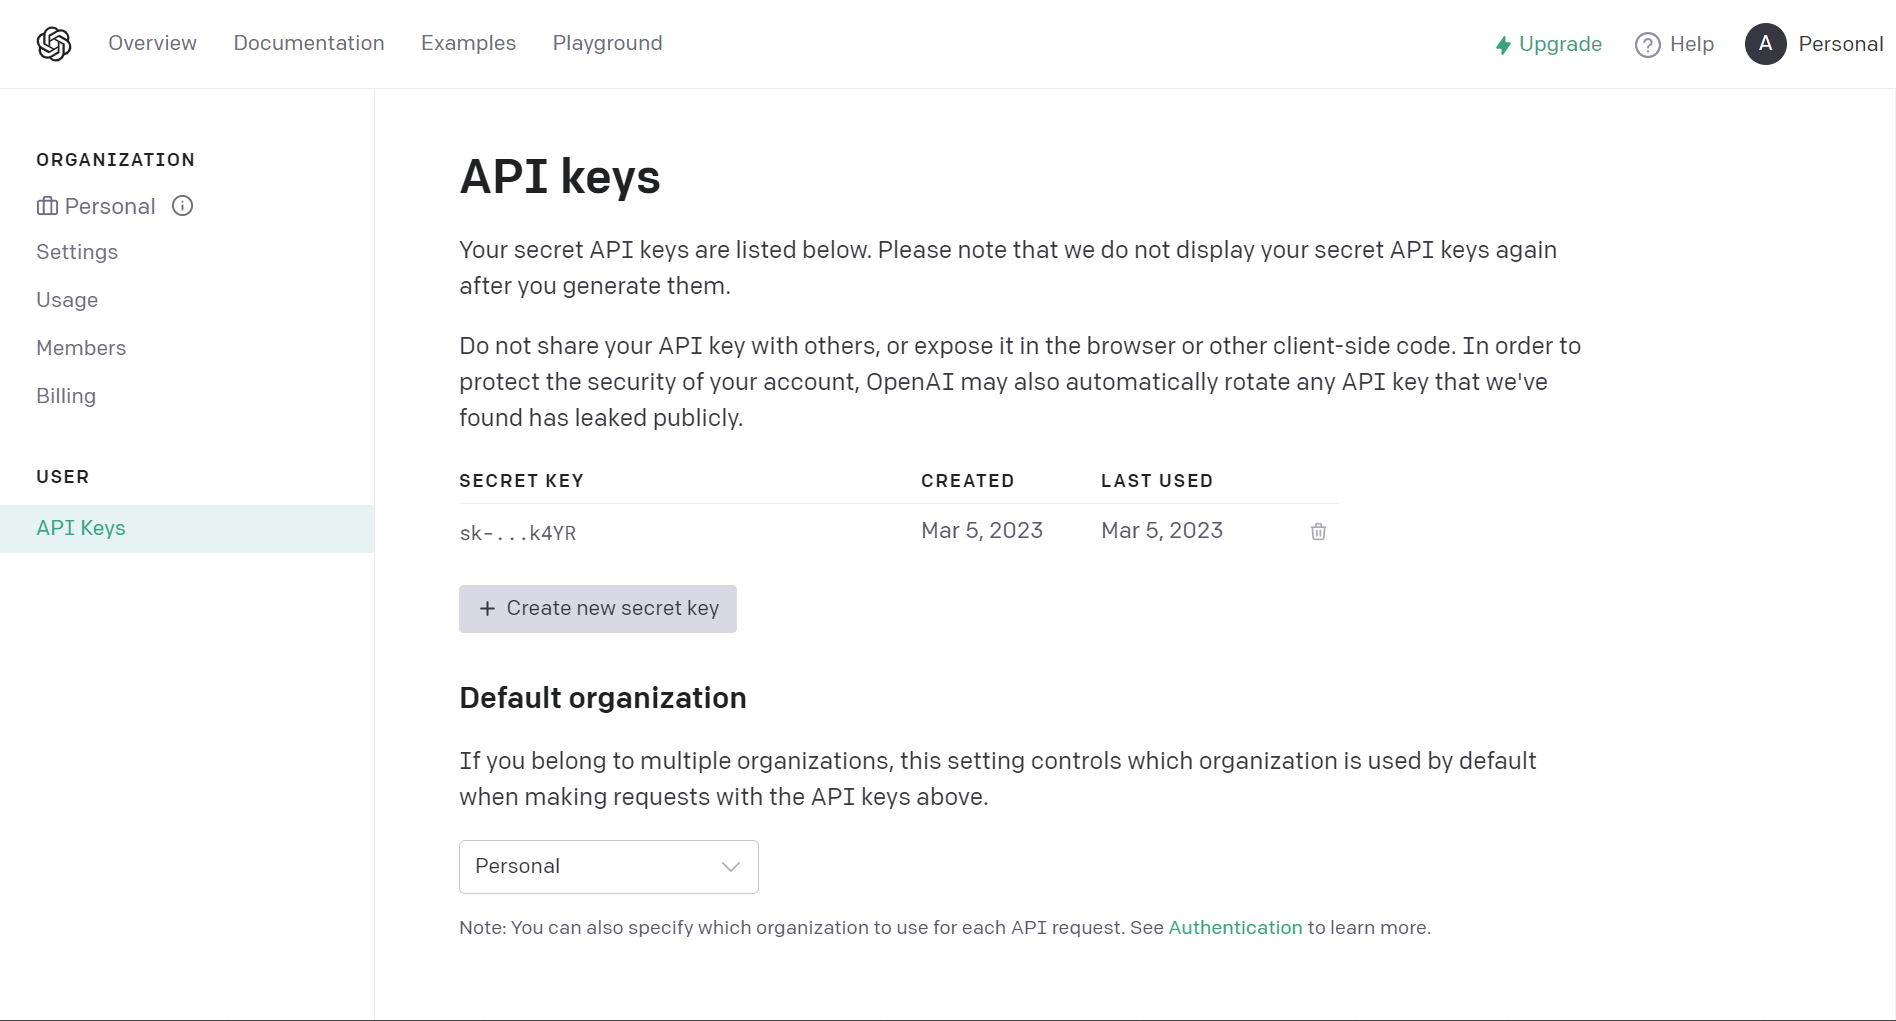
Click on "Create new secret key."
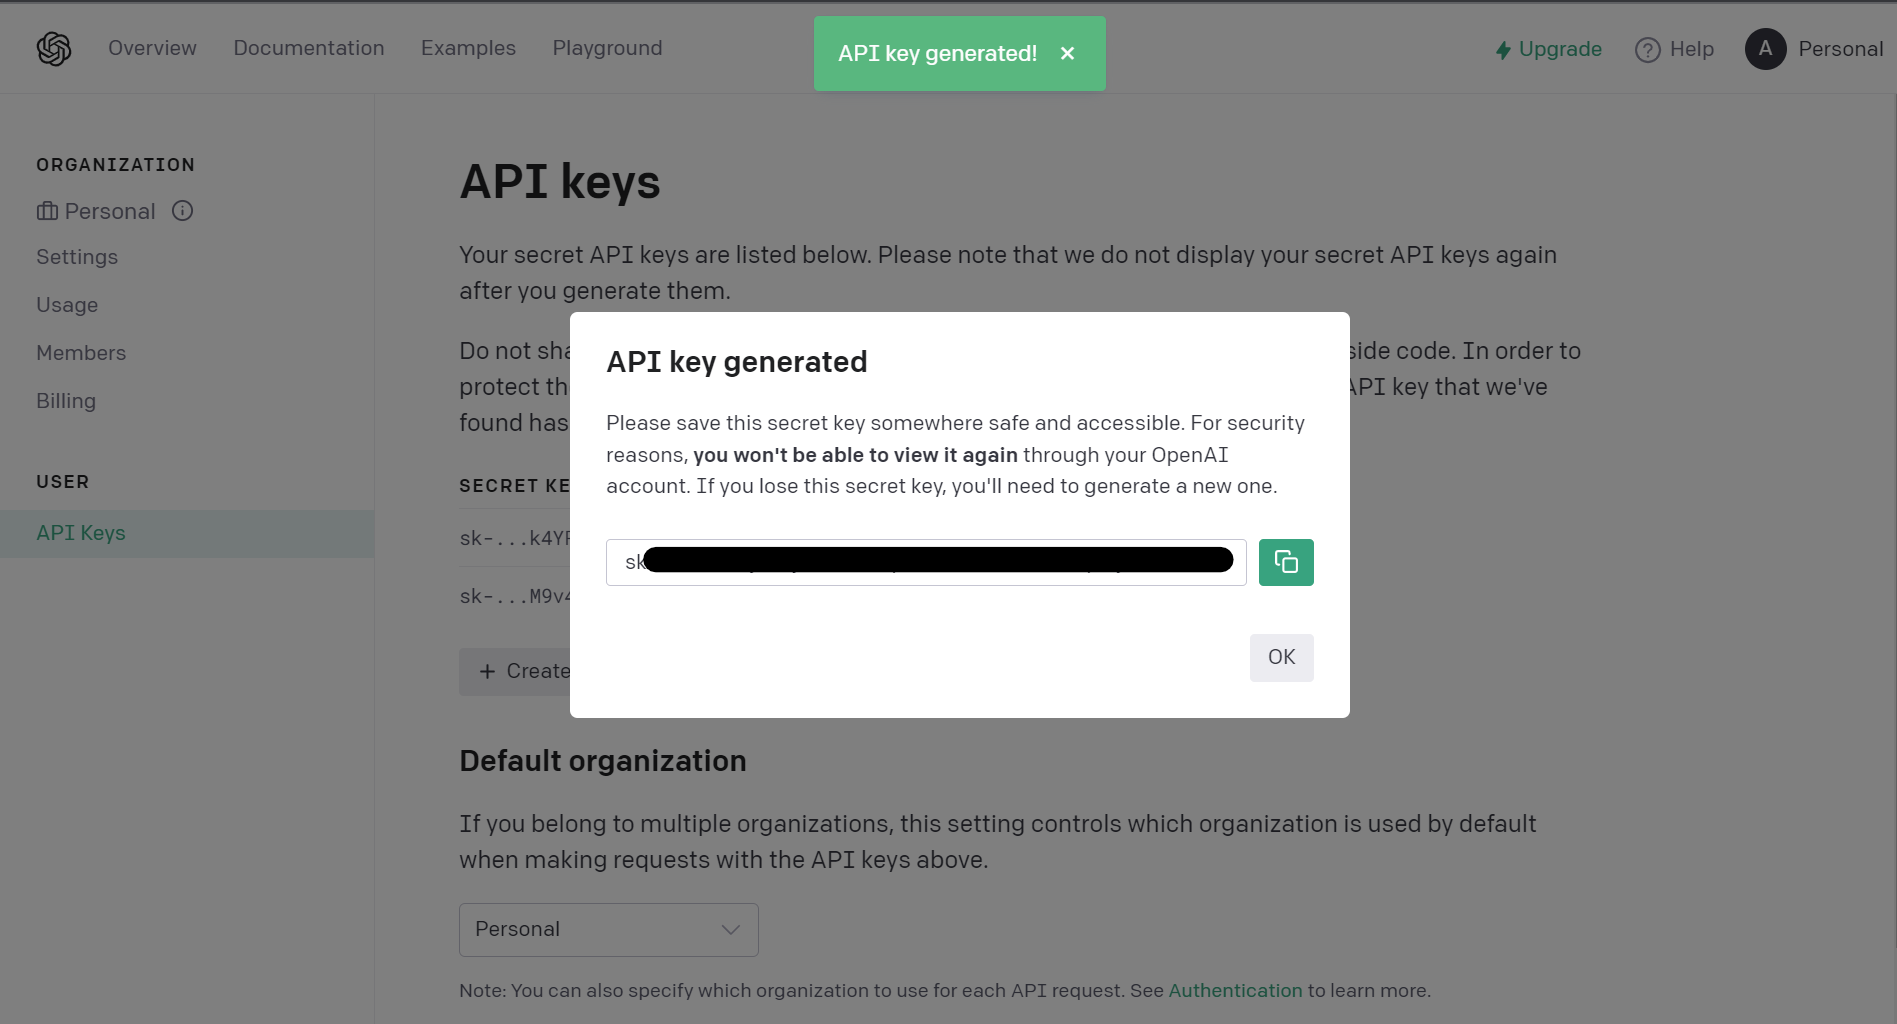
Copy the API key that is generated for you, and keep it in a safe place. Treat your API key like you would a password.
Go back to Zapier and paste your OpenAI API Key into the form field.
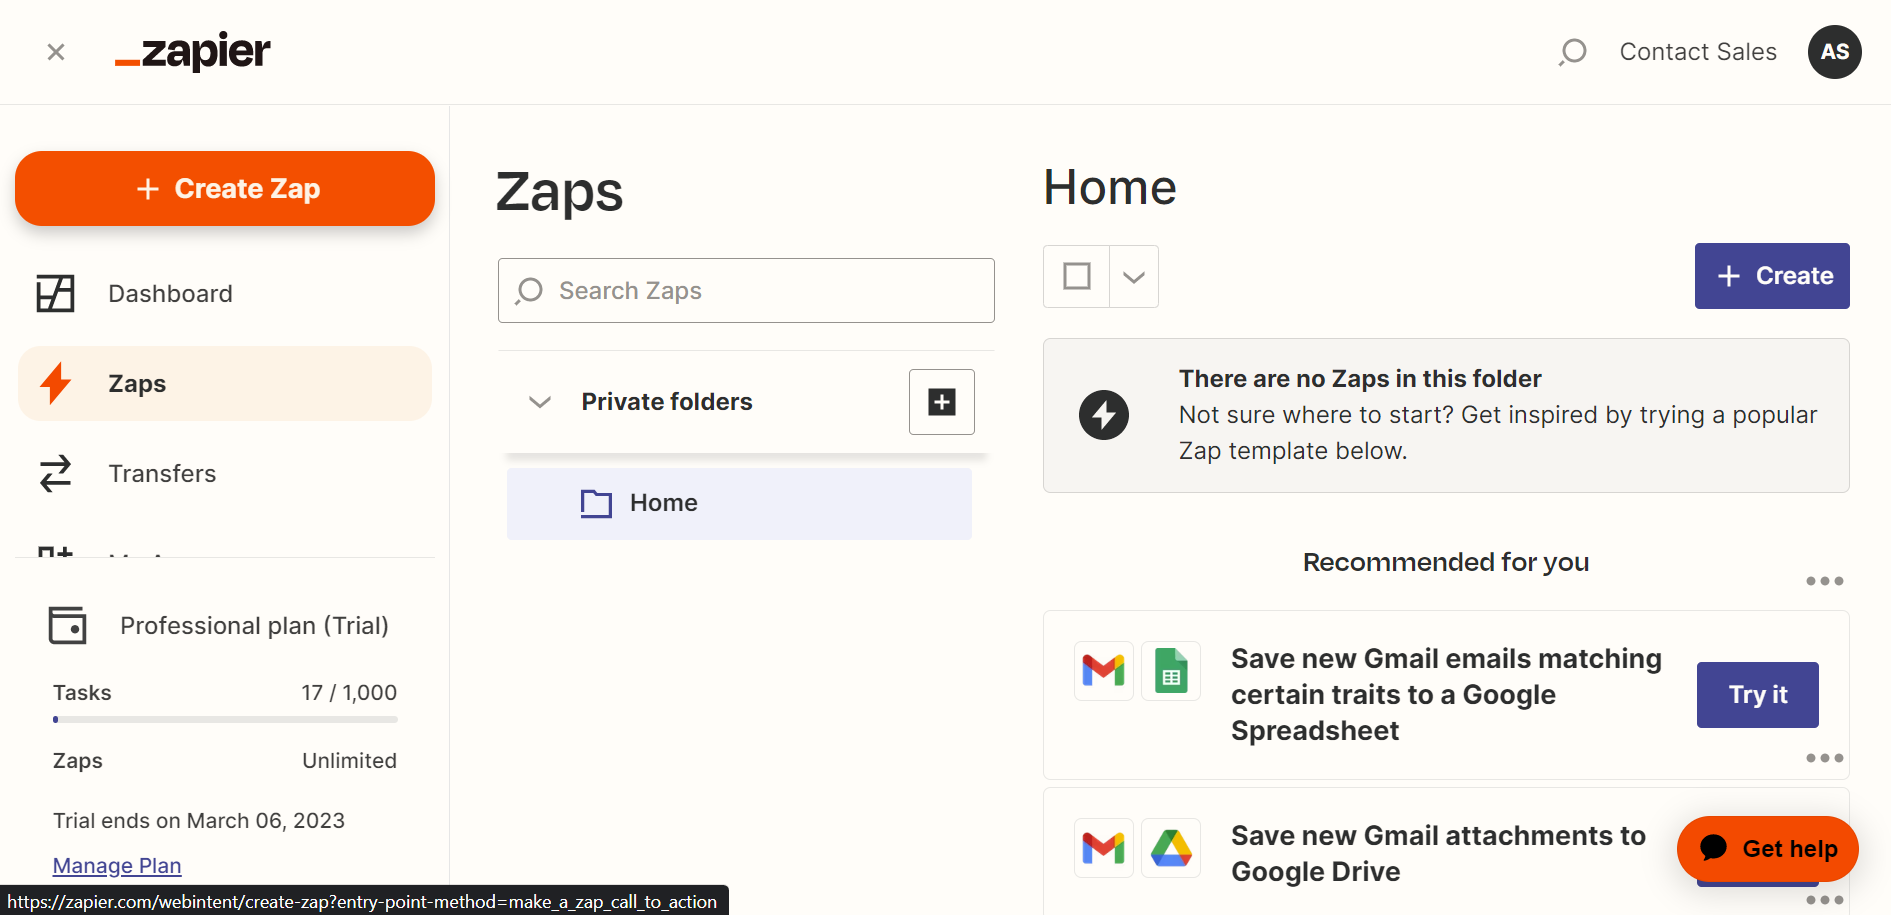
Click on the large orange button that says "Create Zap."
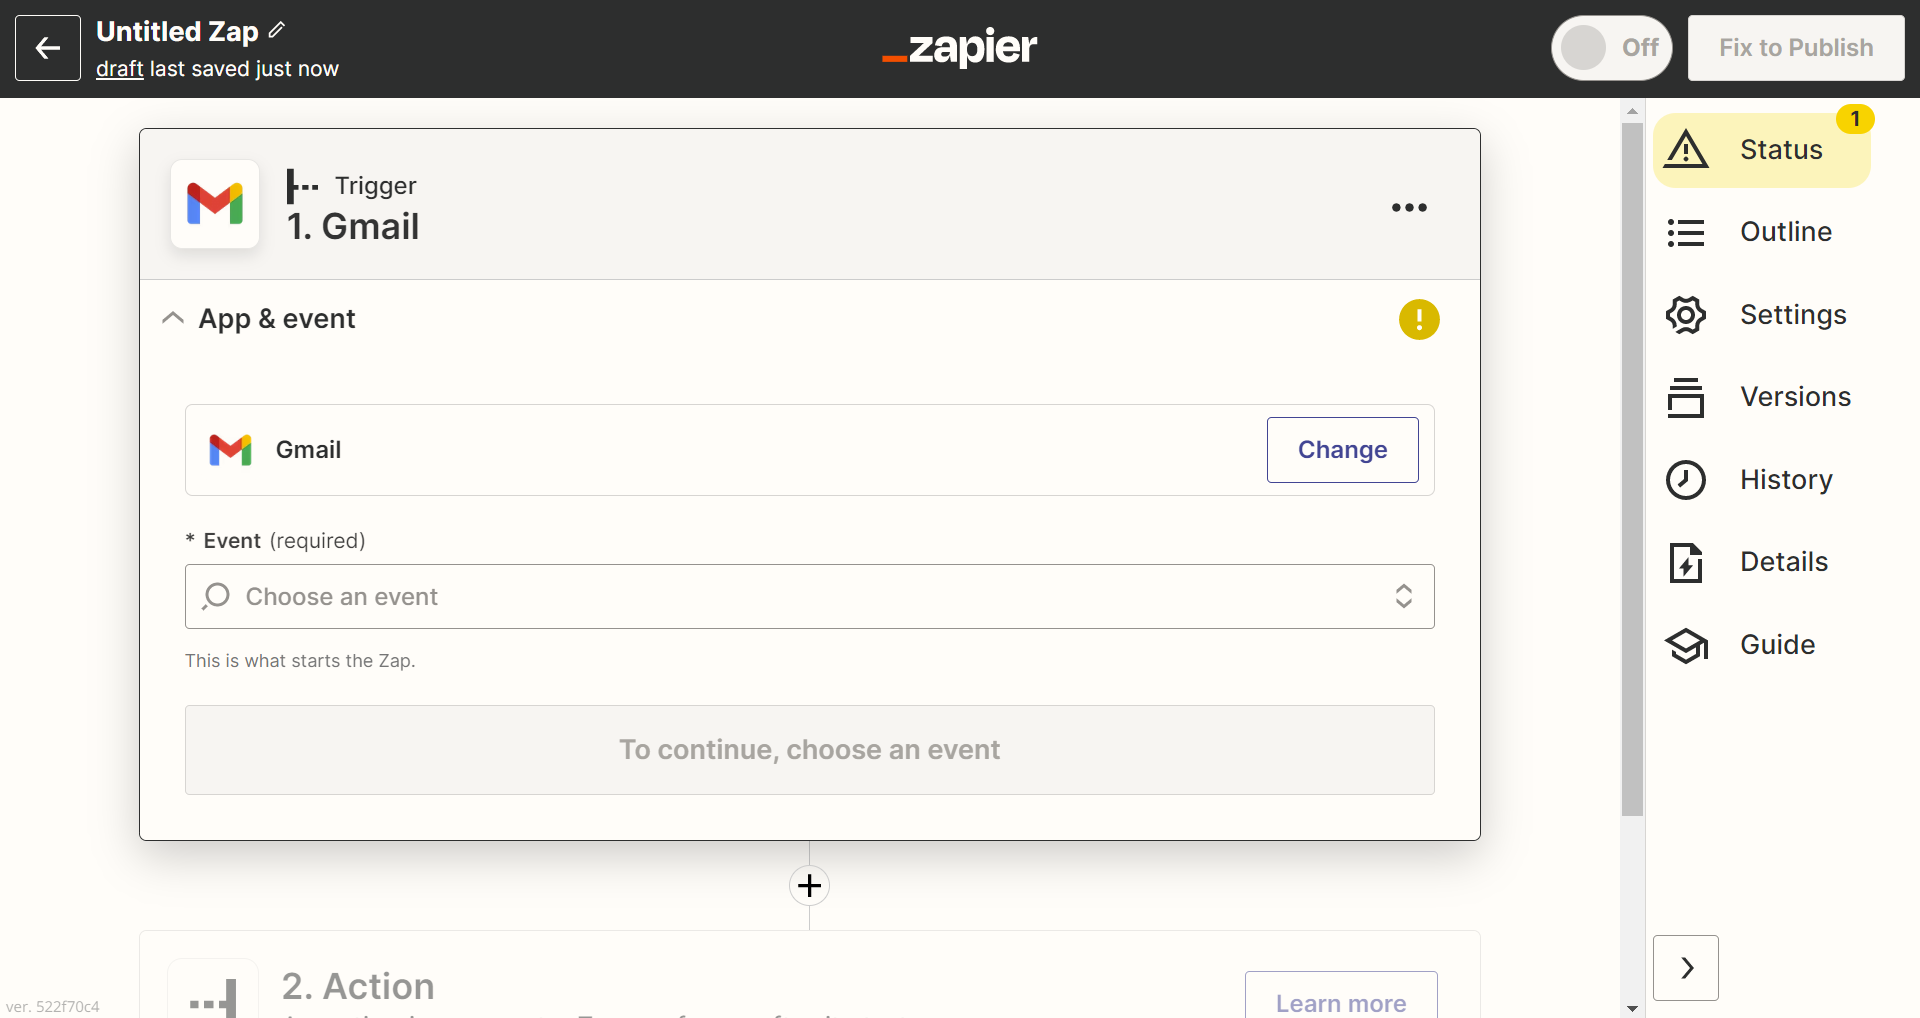
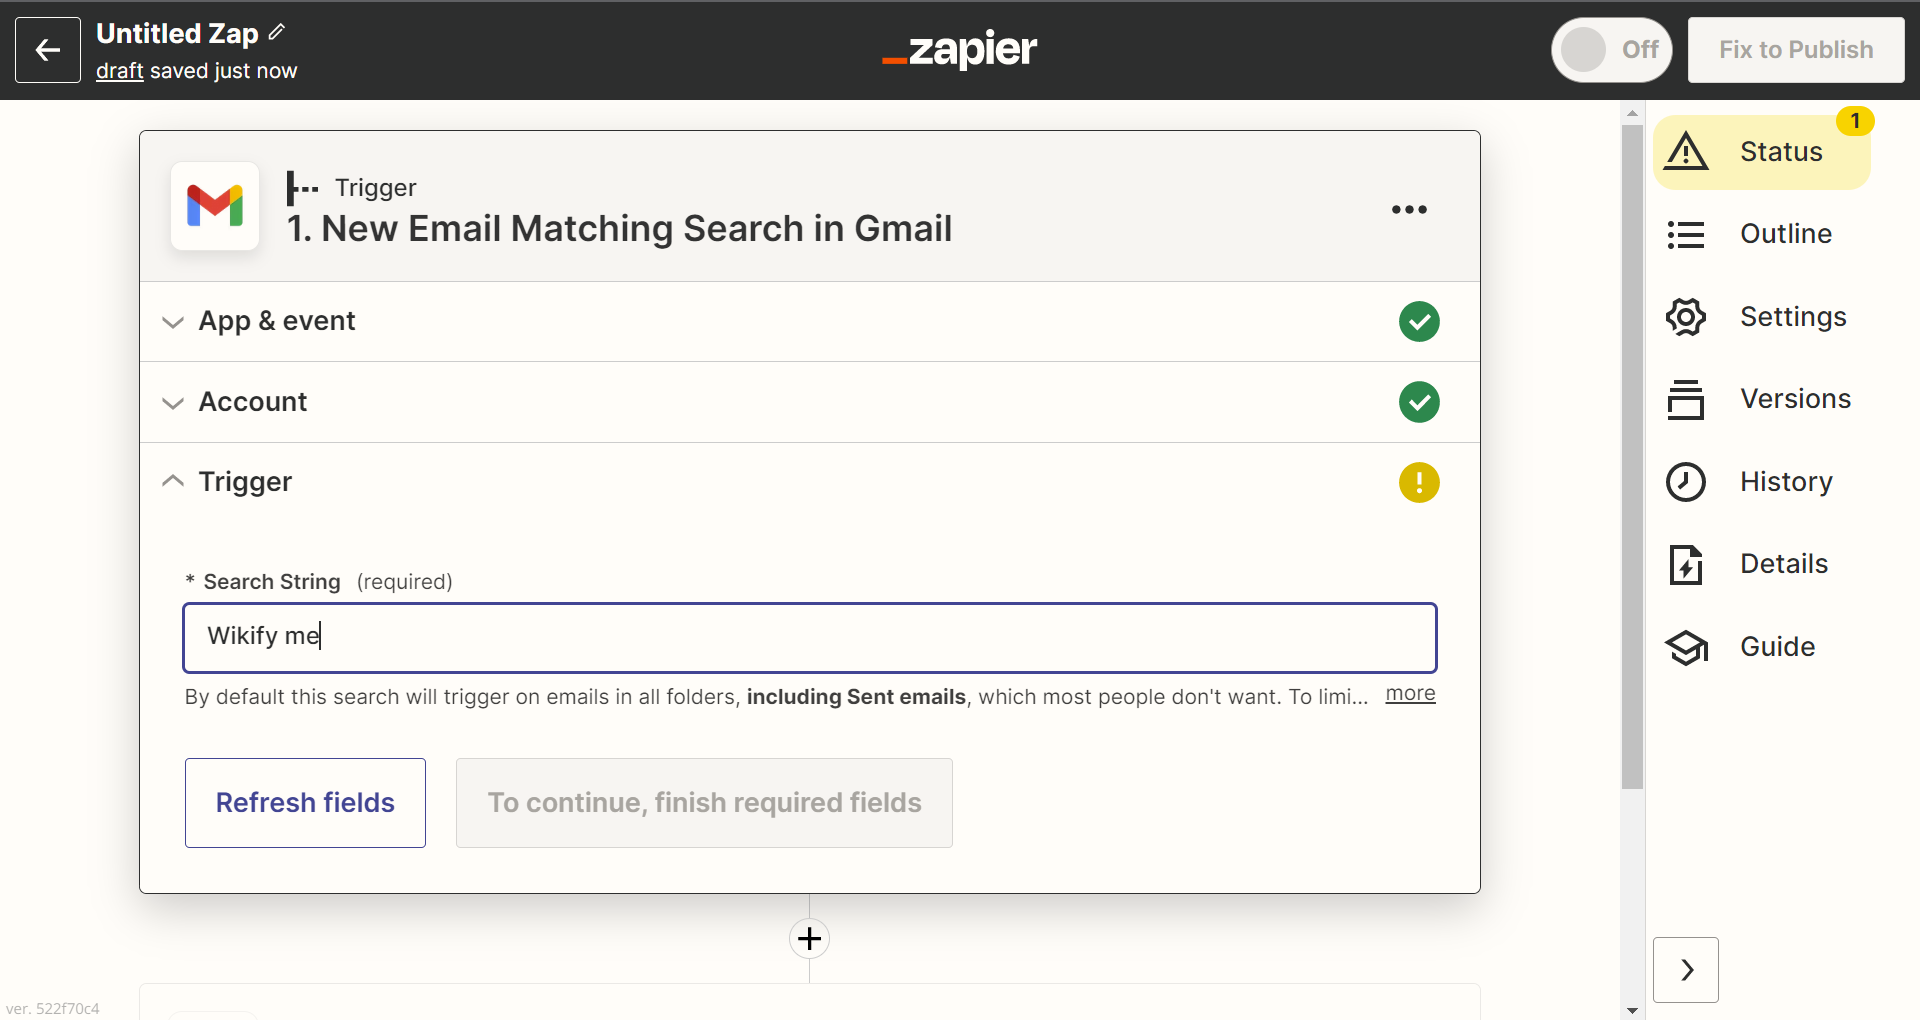
Add a Gmail "Trigger."
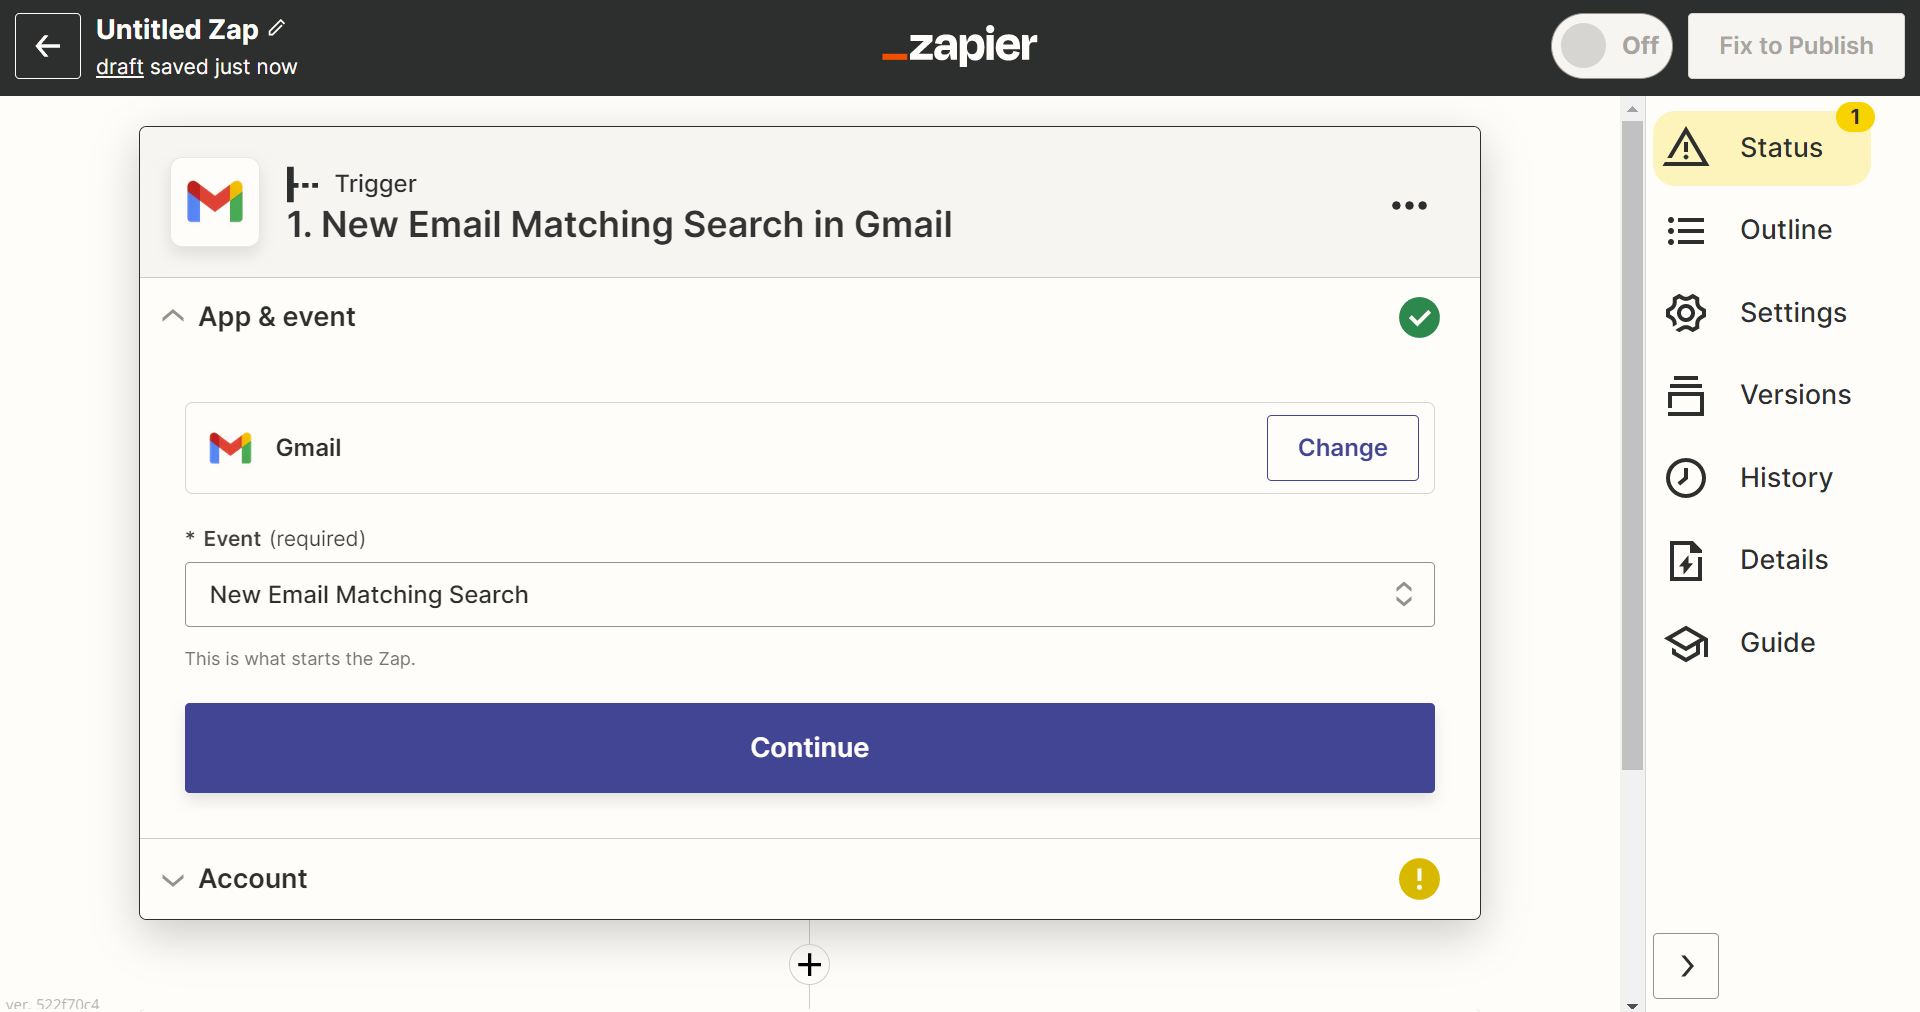
Under "Event," select "New Email Matching Search."
Under "Search String," enter "Wikify me."
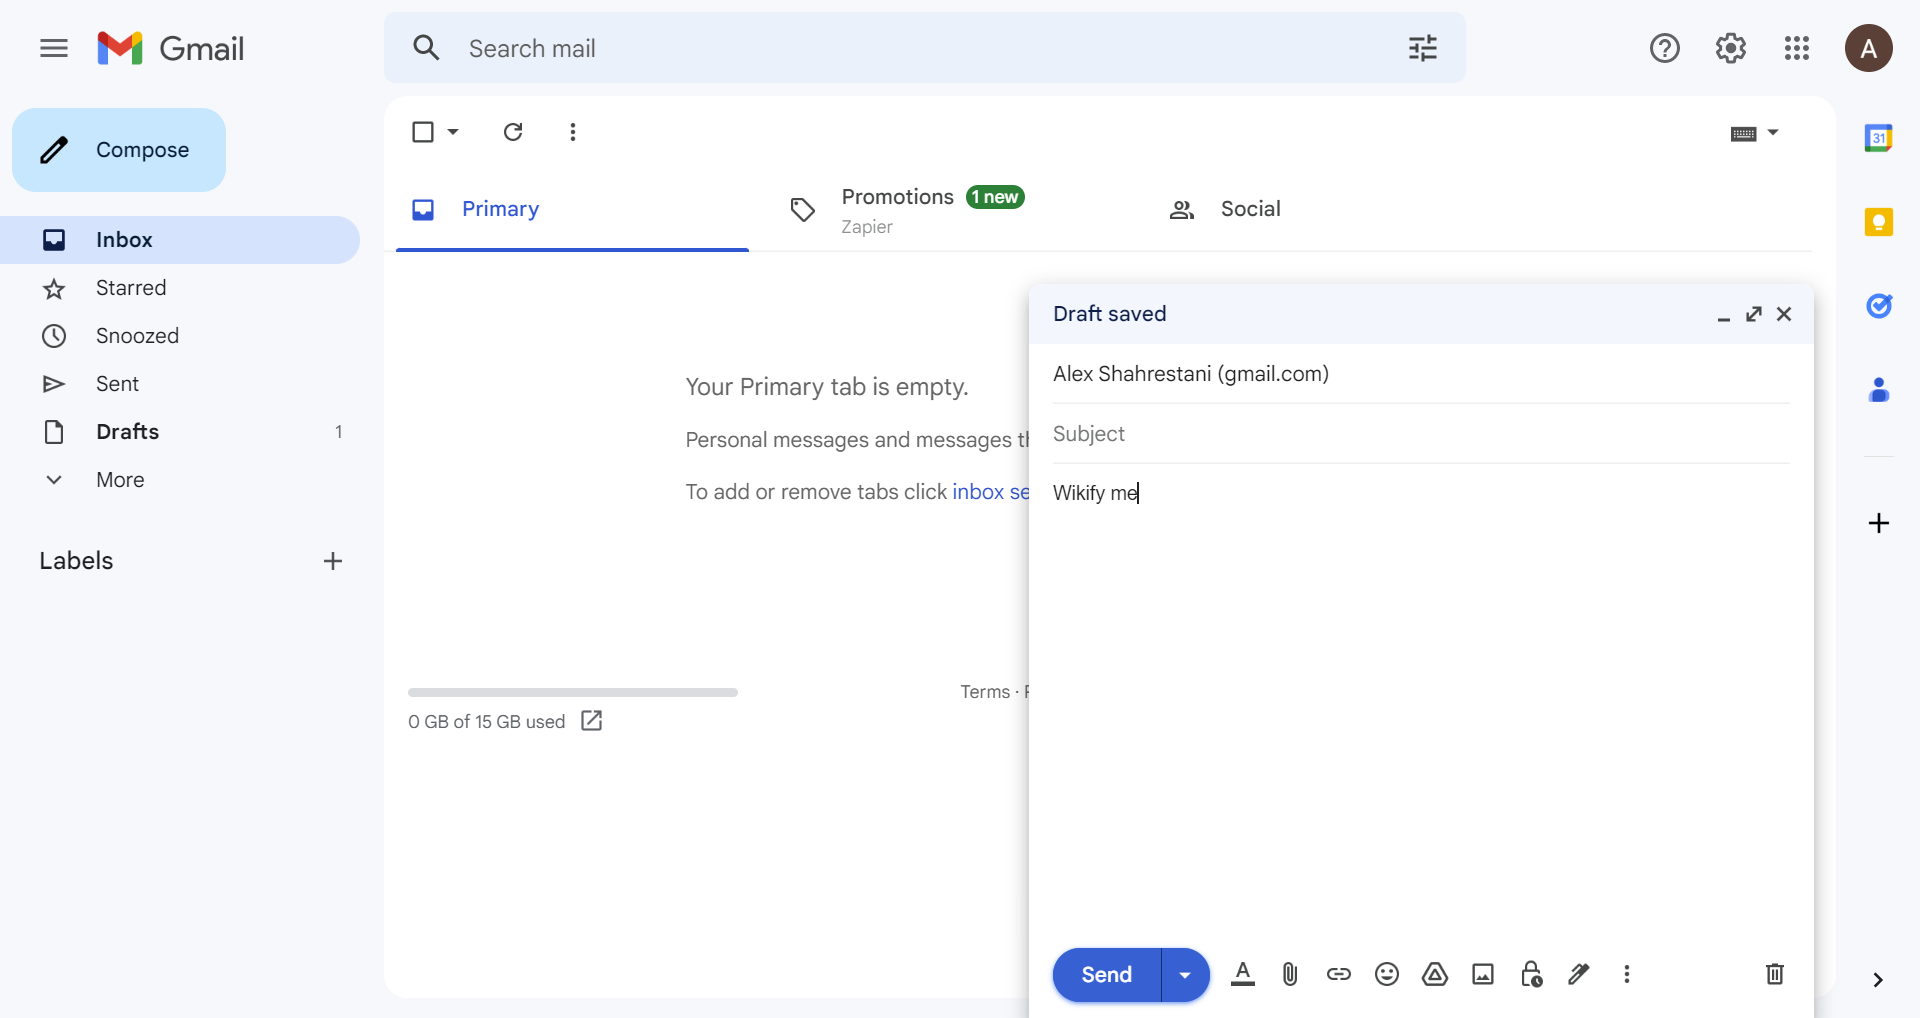
In a new browser window, go to Gmail and send yourself an email with "Wikify me" in the body of the email. This is only for testing purposes.
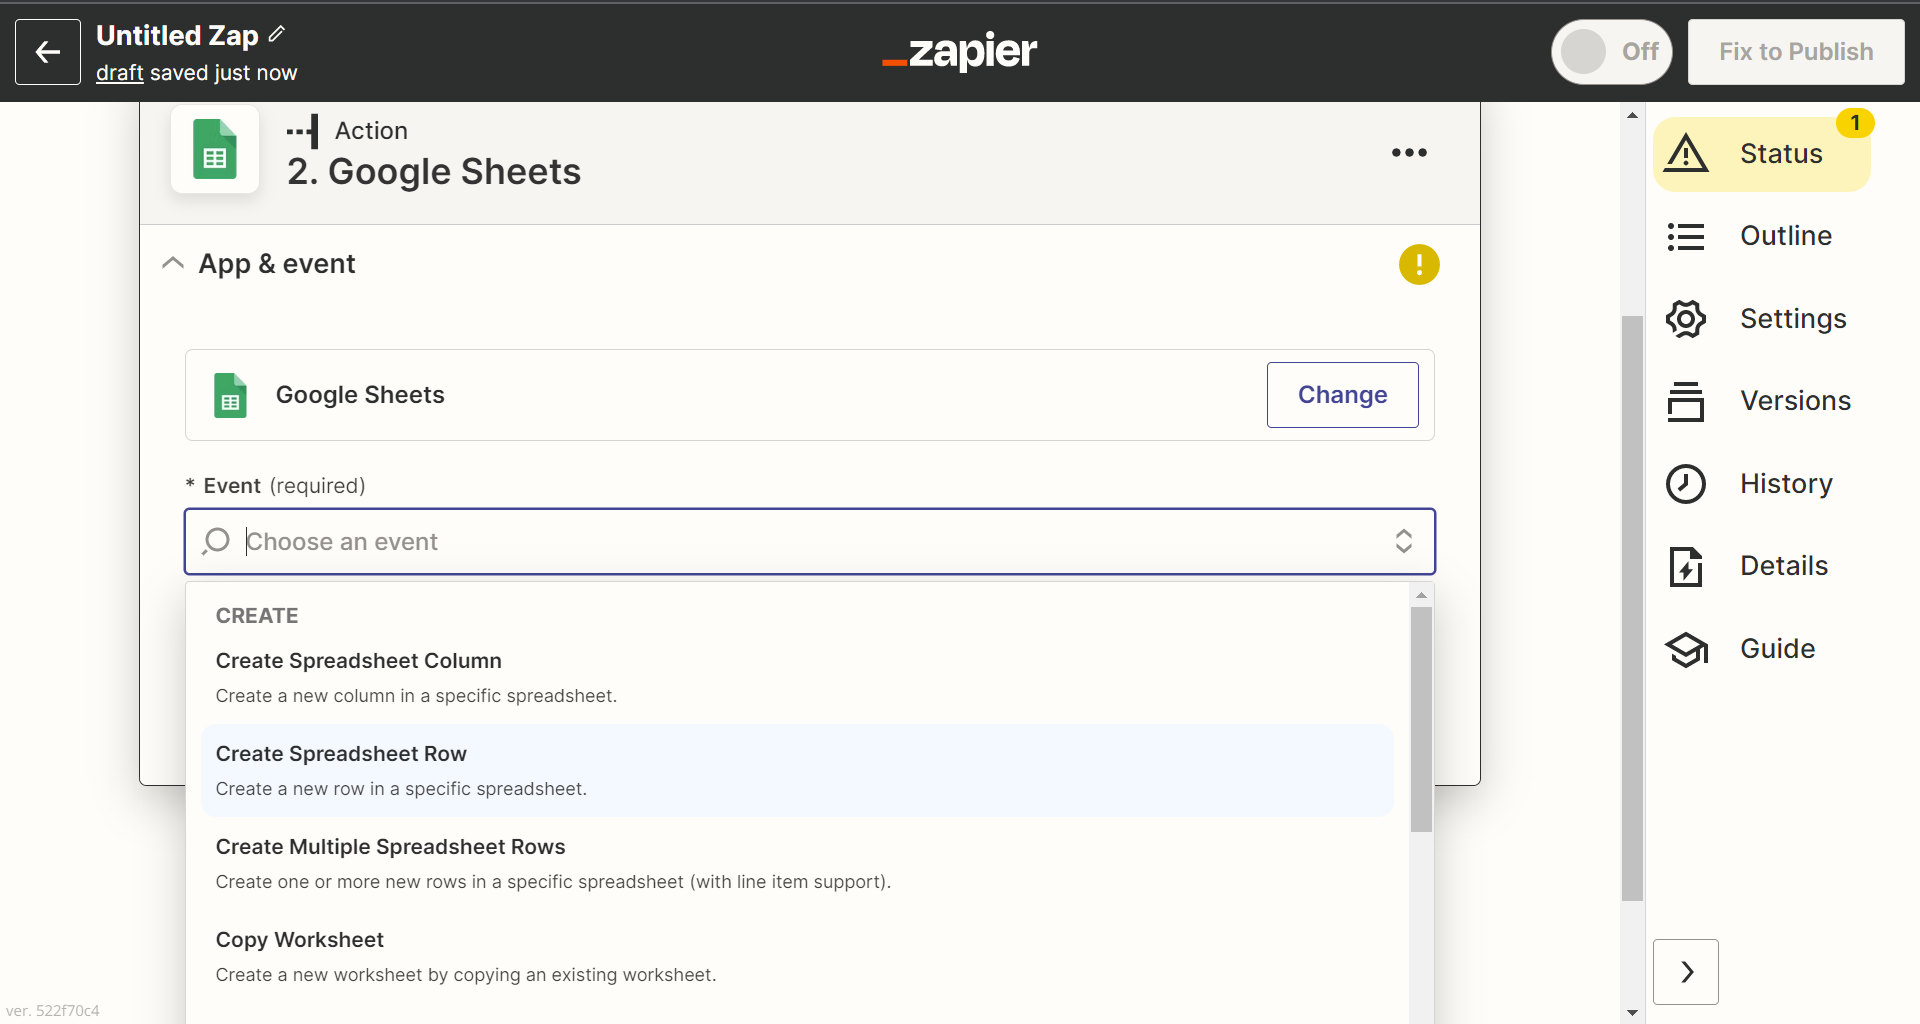
Click the "Test" button, and connect an action if the test is successful. Connect "Google Sheets" and select "Create Spreadsheet Row." Repeat the previous steps if your test was unsuccessful.
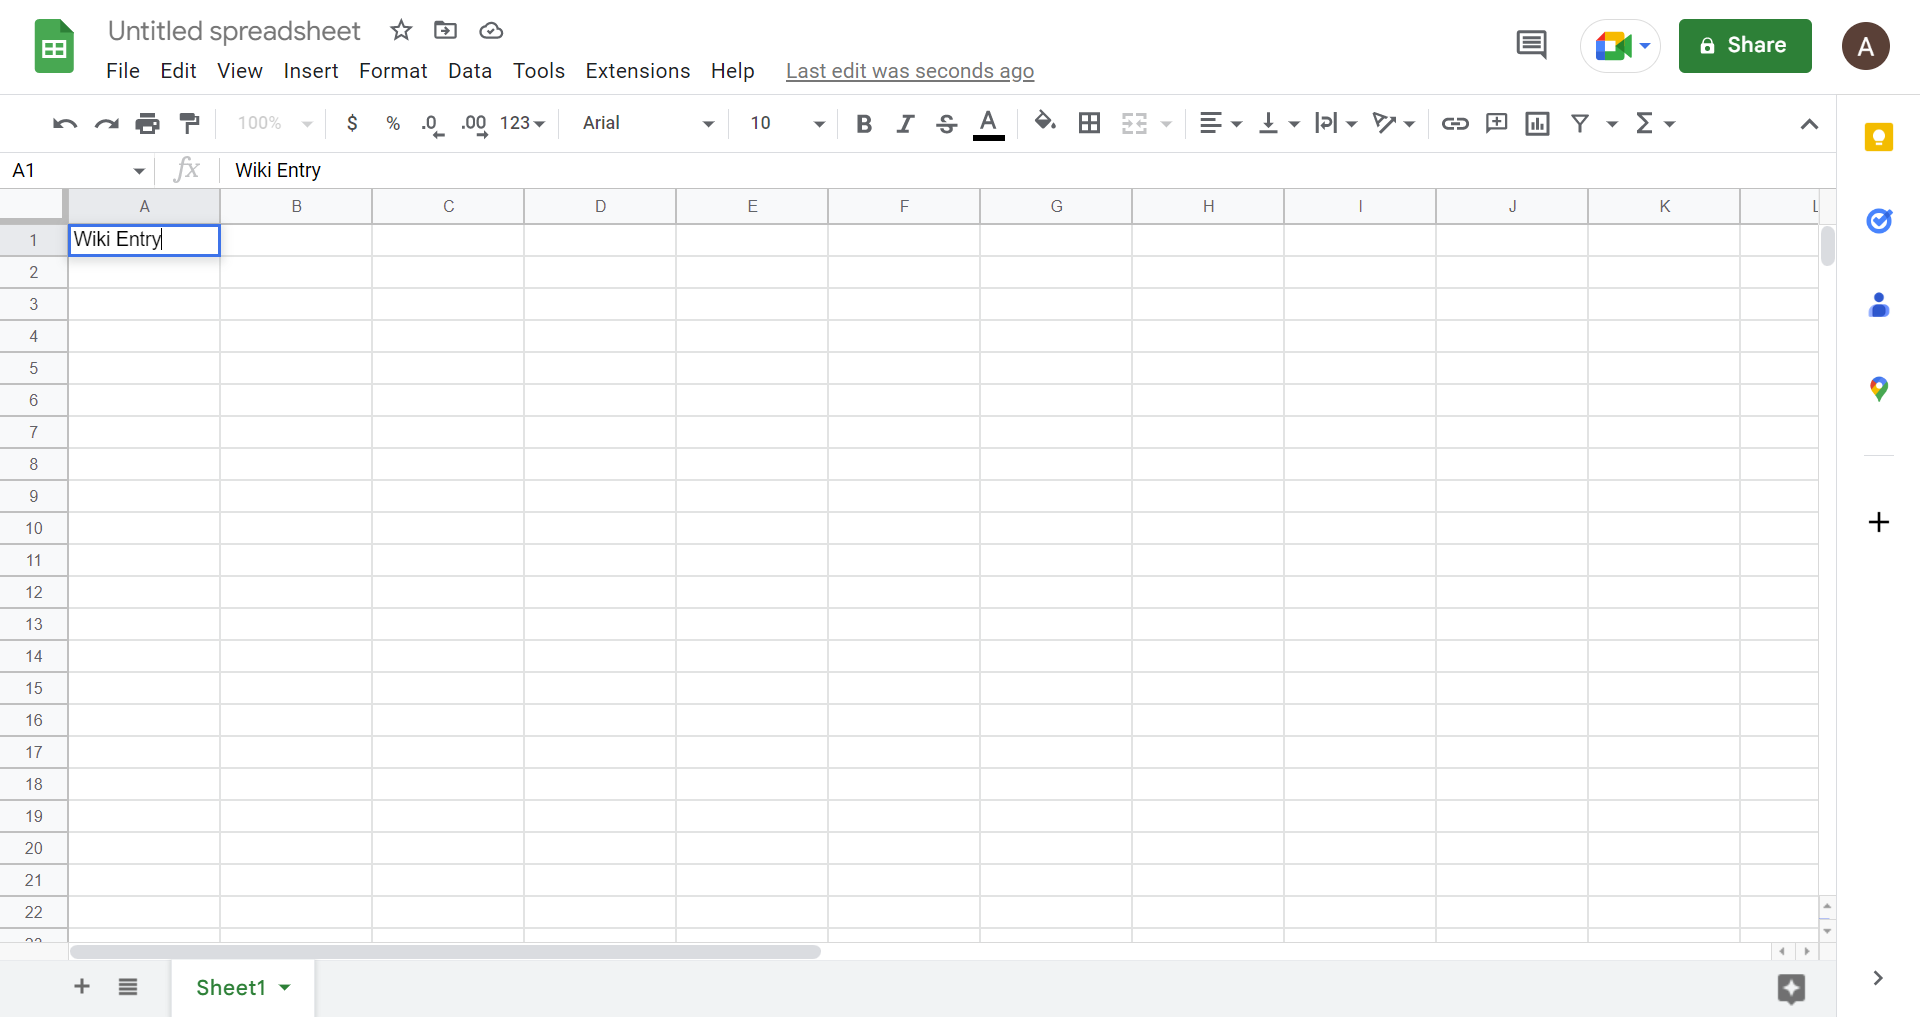
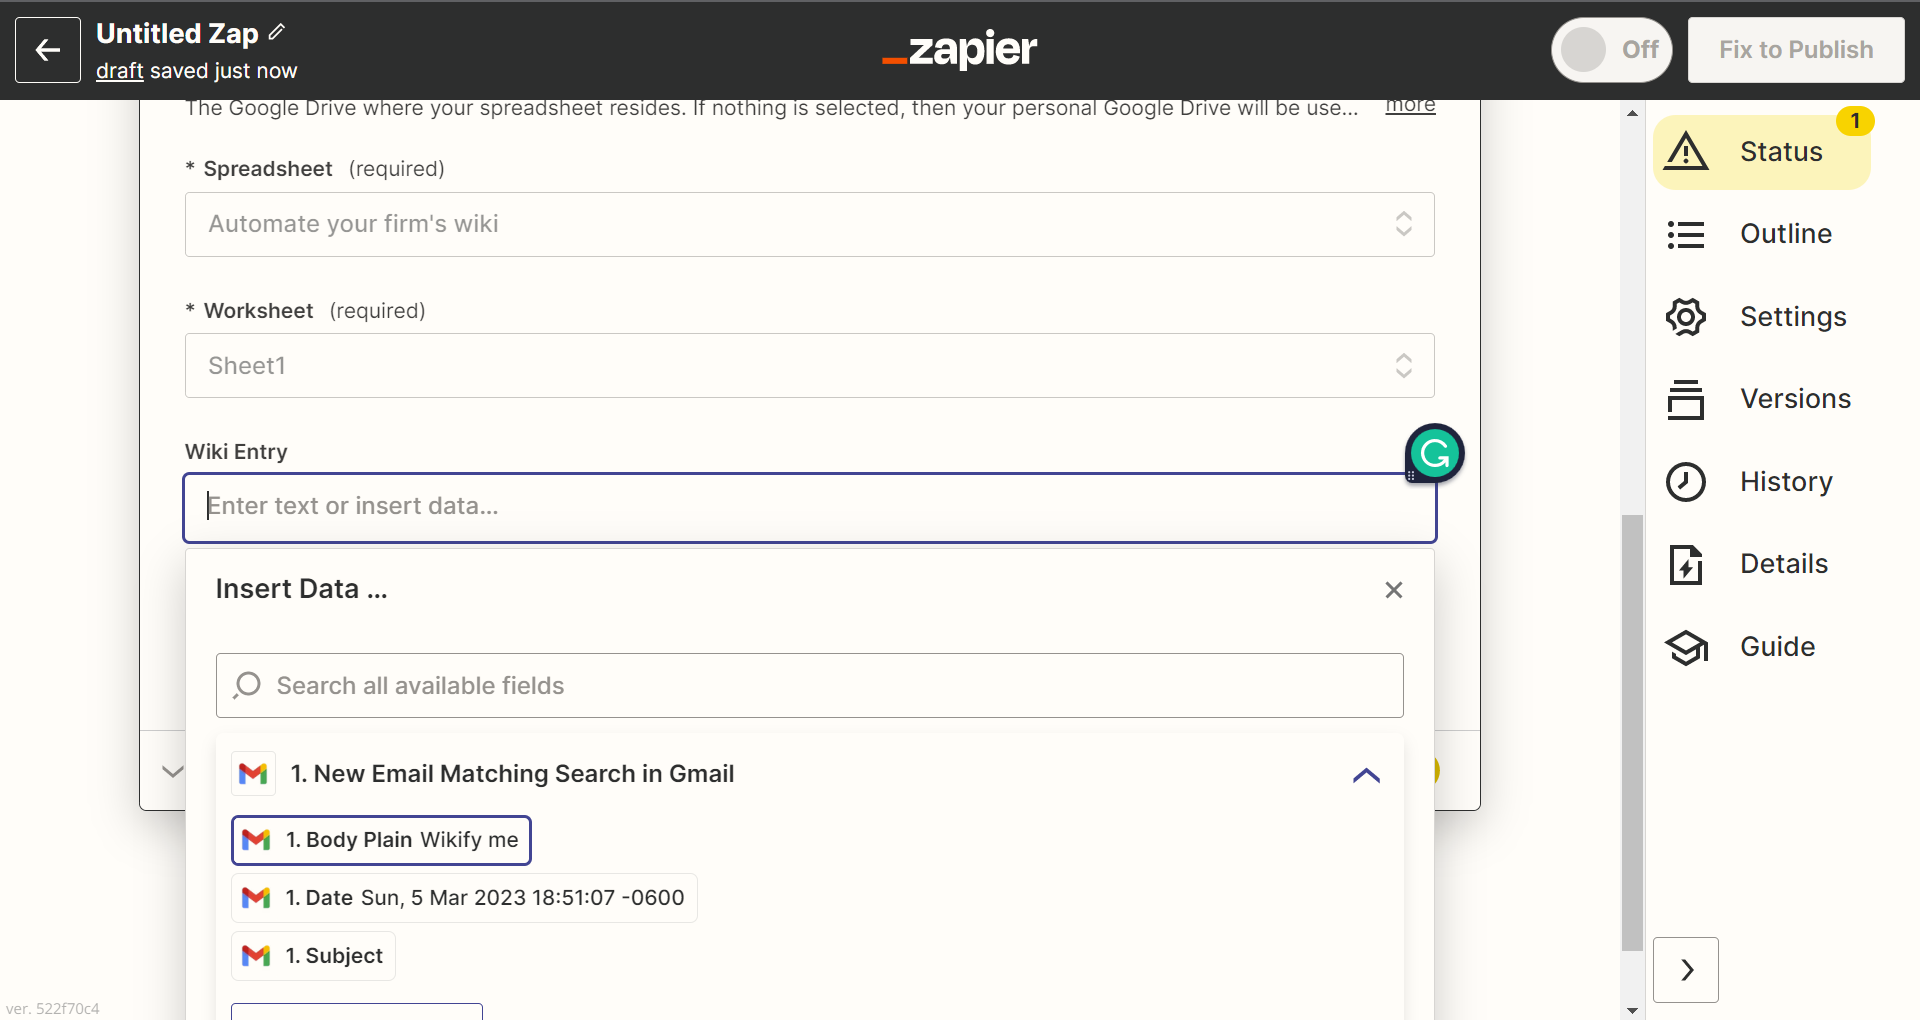
Go to a new browser window, and create a new Google Sheet at sheets.google.com. Set the first cell of your new sheet to "Wiki Entry."
Go back to Zapier, and under the "Wiki Entry" field, you will insert the data from the previous step, "Body Plain," plus whatever other text you included in your test email, if any.
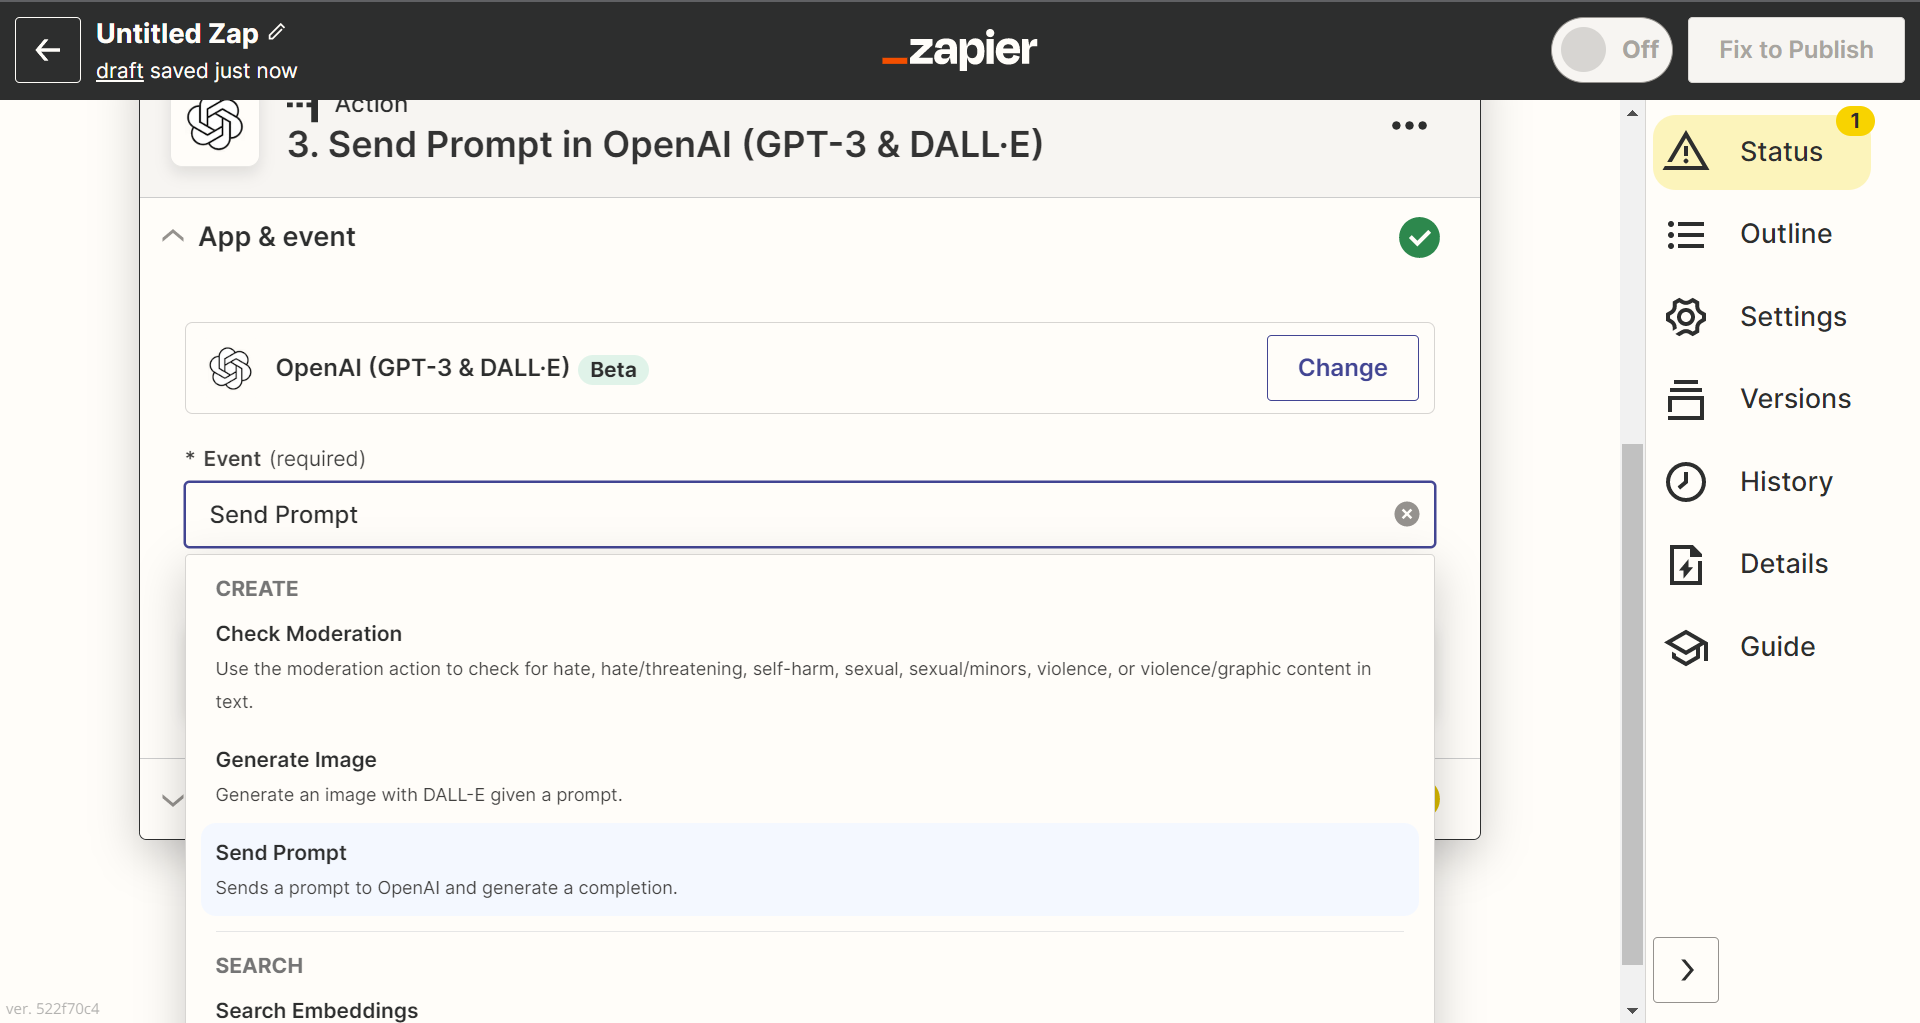
Connect another action. Action 3 will be via "OpenAI," and select the Event, "Send Prompt."
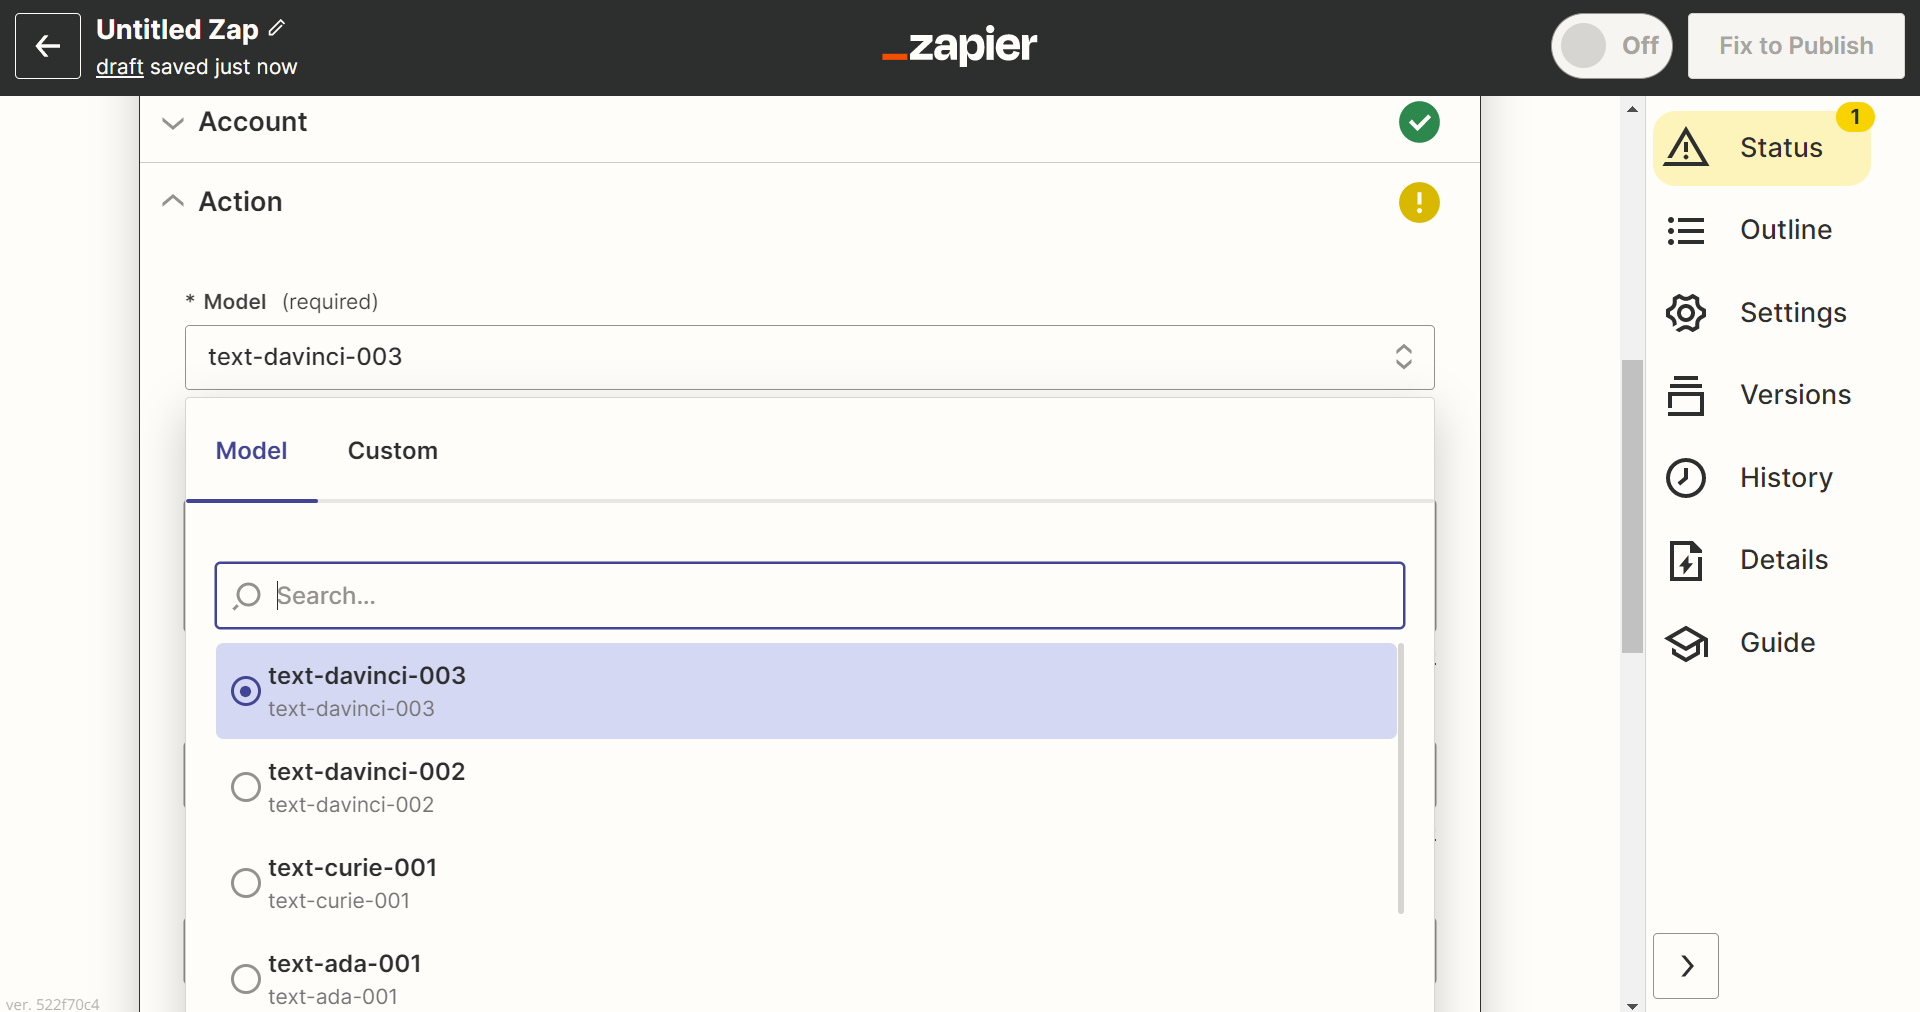
Under "Model," select "text-davinci-003," or a different model. At the time of writing, the given model has the best output for this Guide.
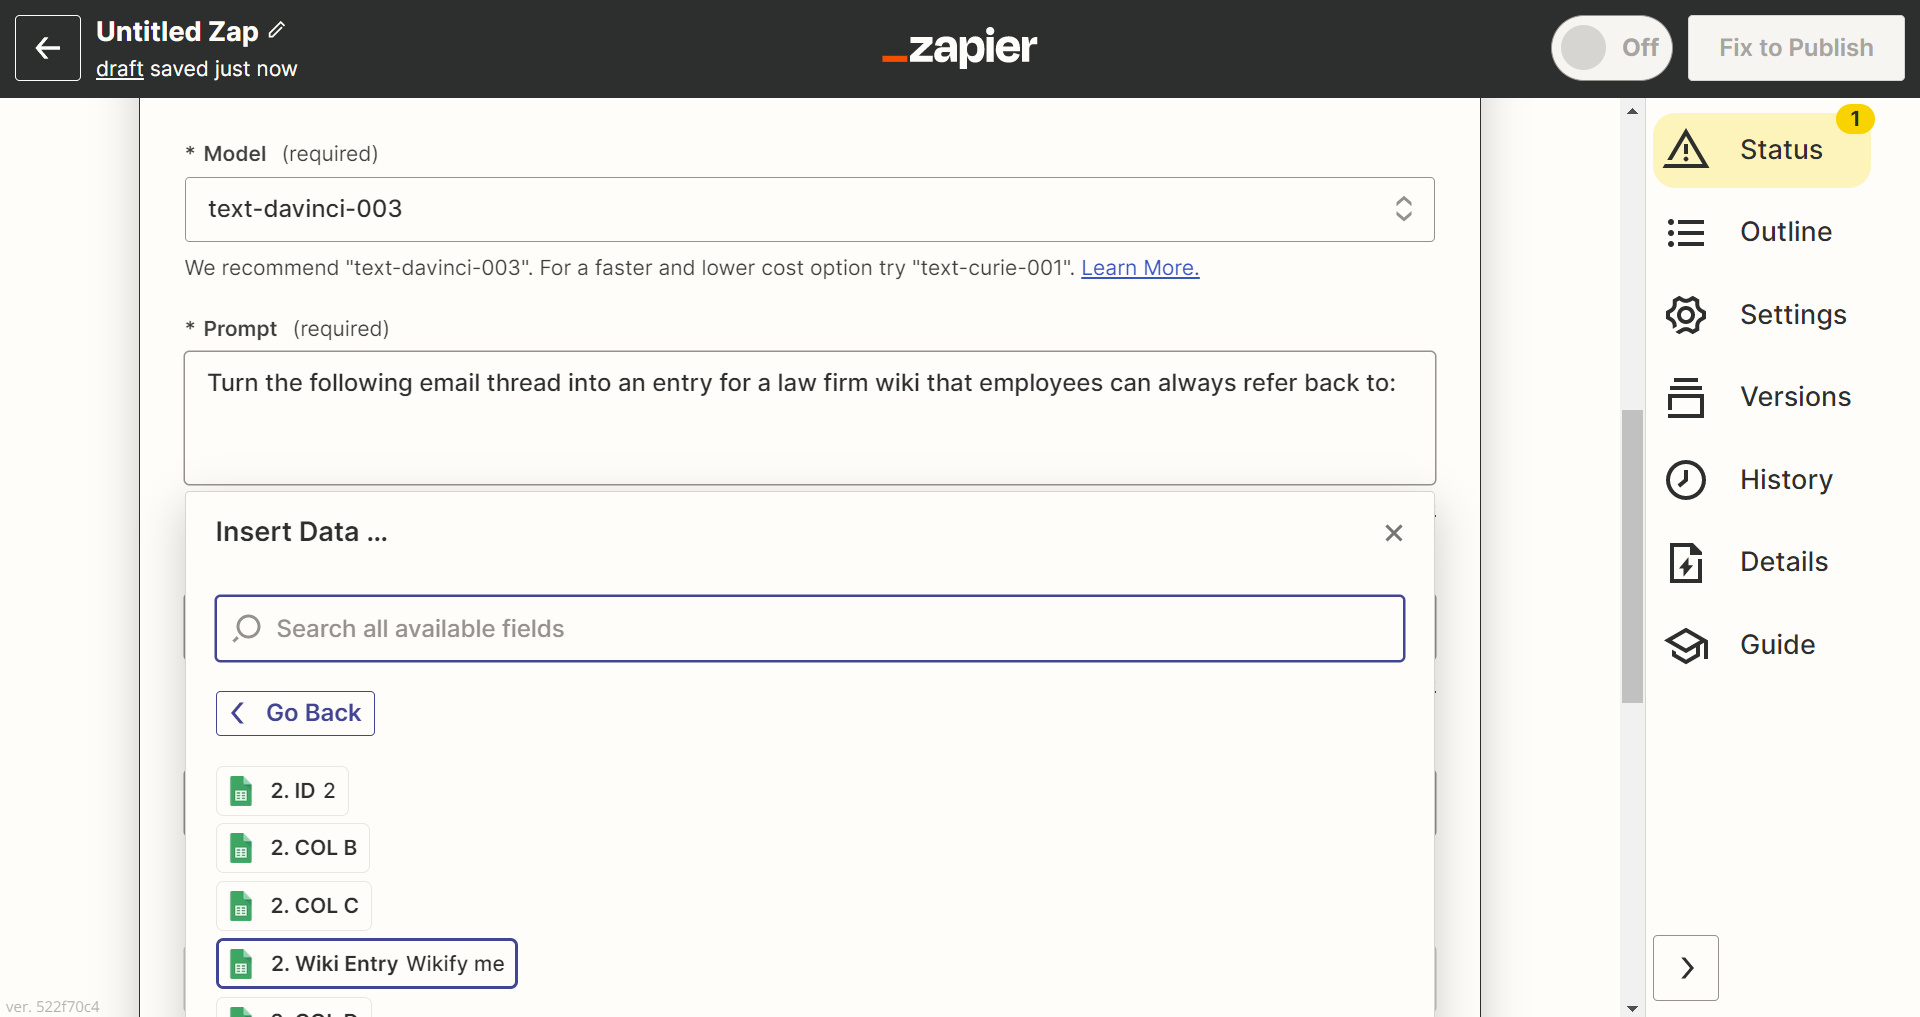
Under "Prompt," type in "Turn the following email thread into an entry for a law firm wiki that employees can always refer back to:" and then use "Insert Data" to insert the "Wiki Entry" option. The option should include the body of your test email.
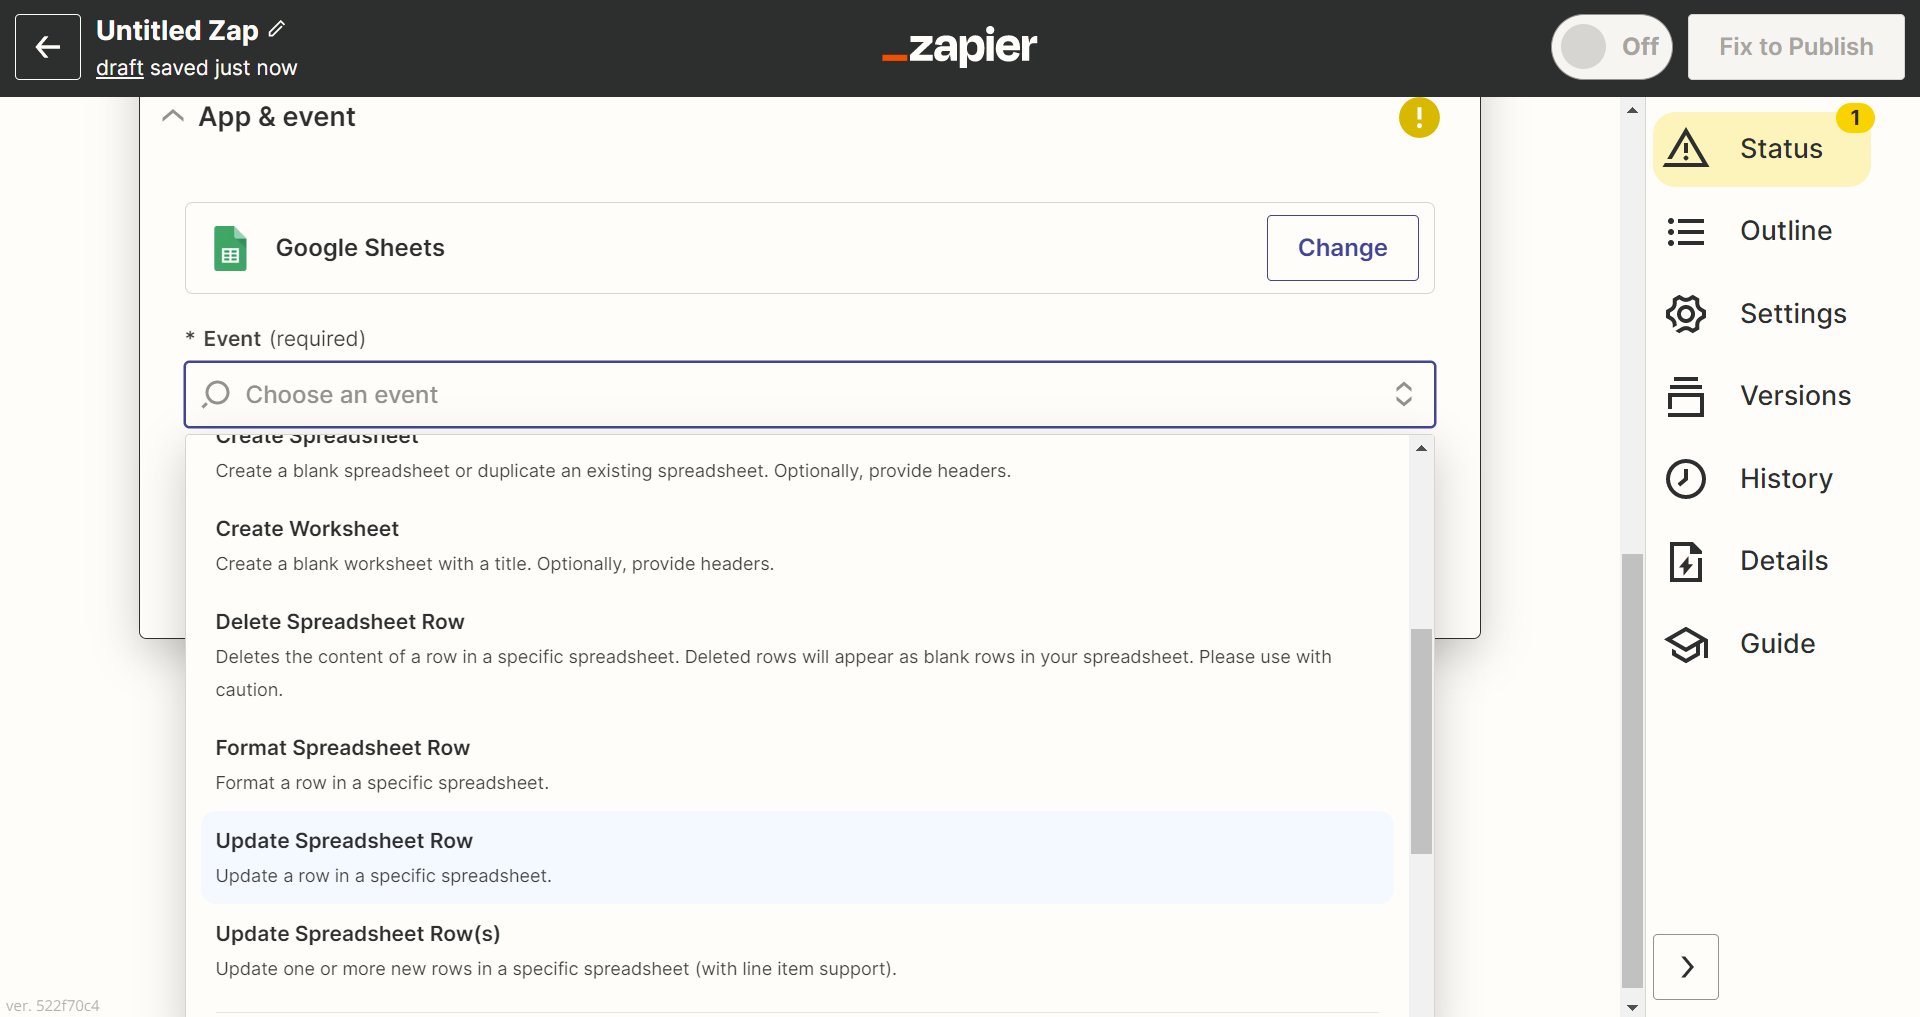
Connect another Action. Action 4 will be a "Google Sheets" Action, and the Event will be "Update Spreadsheet Row."
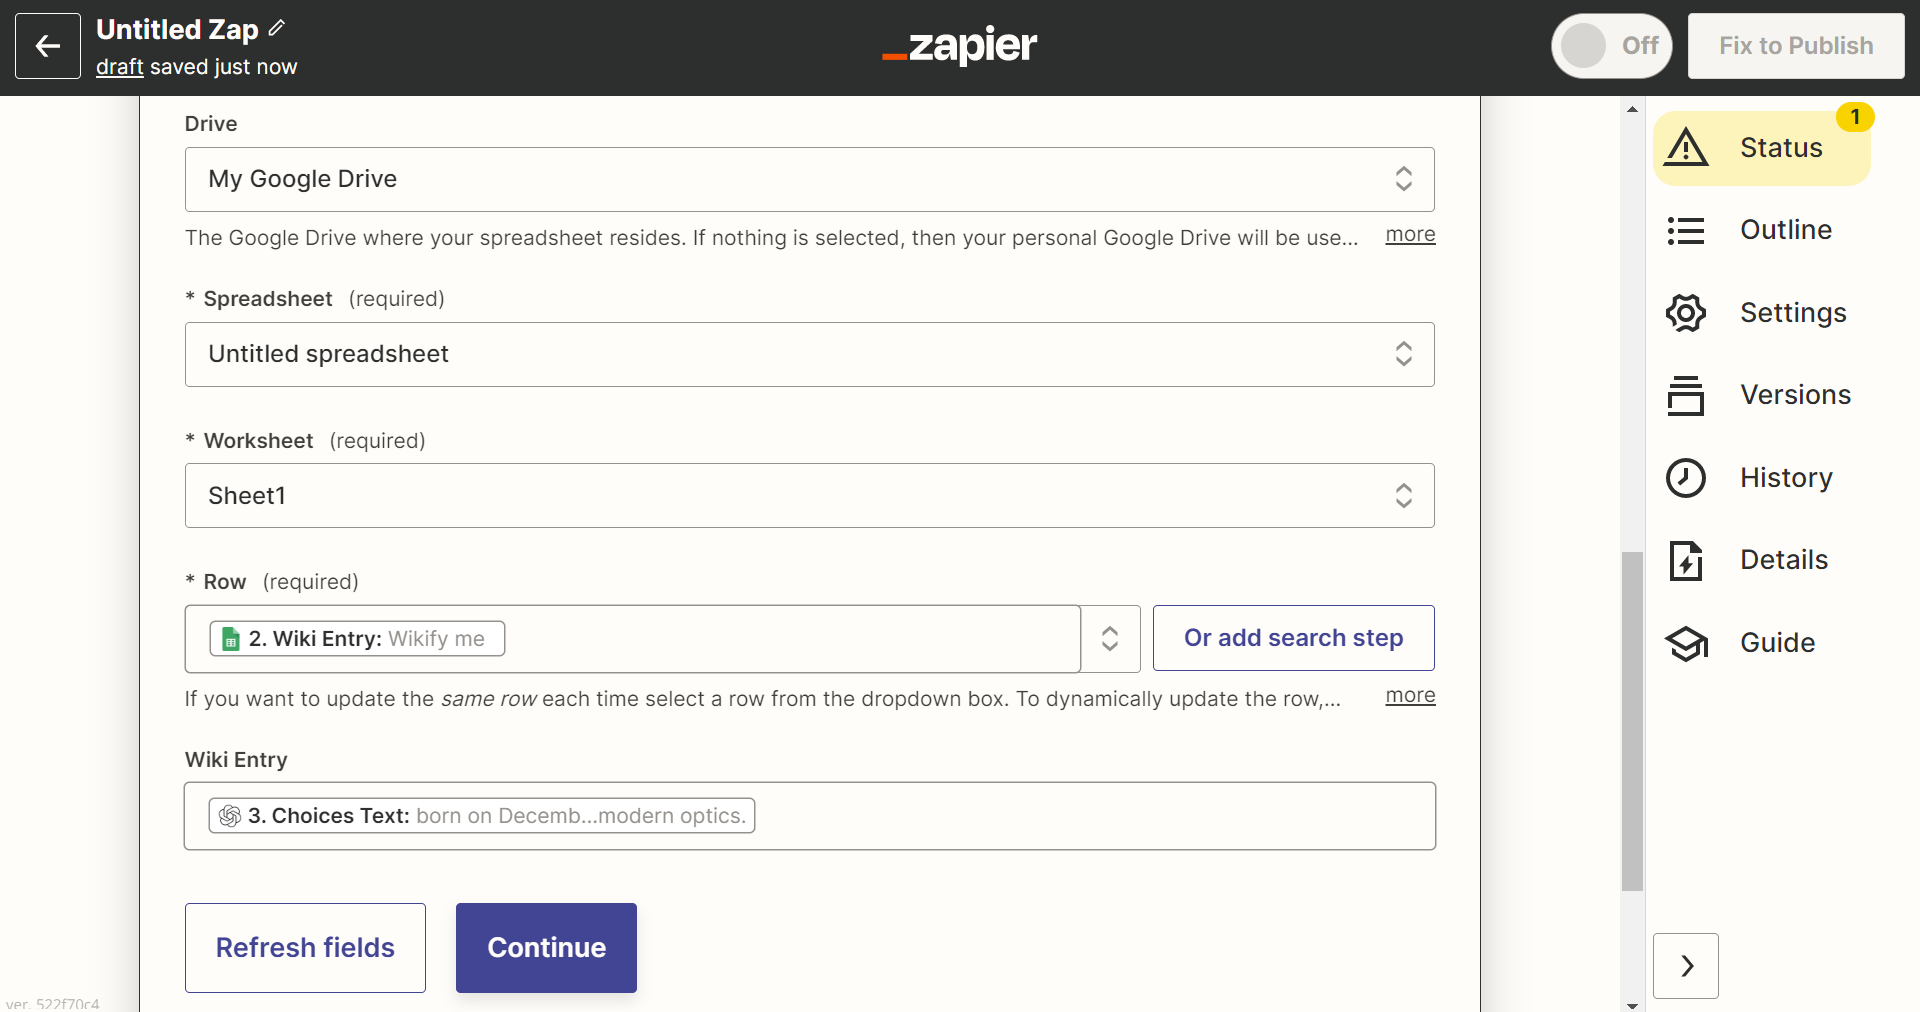
Under the options, select the Google Sheet you used for Action 2, and select the row created in that same step. You can choose several options here that will work, but I prefer to select the same cell that was previously chosen.
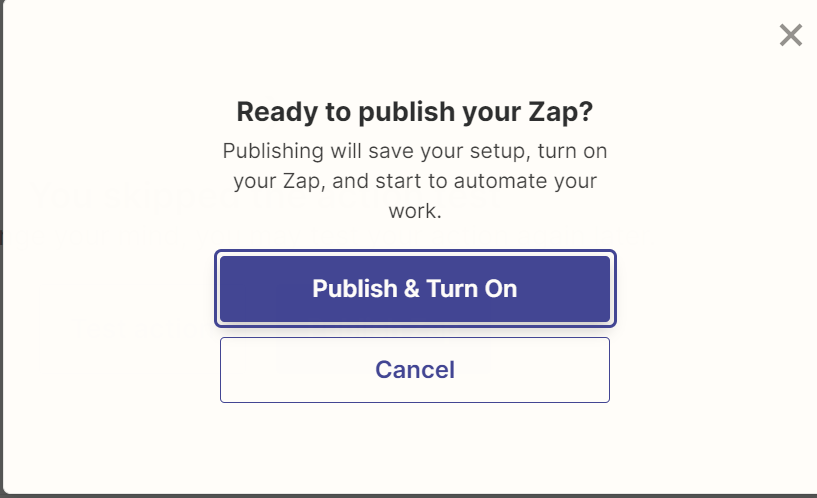
Finally, "Publish" your Zap, then select "Publish & Turn On."
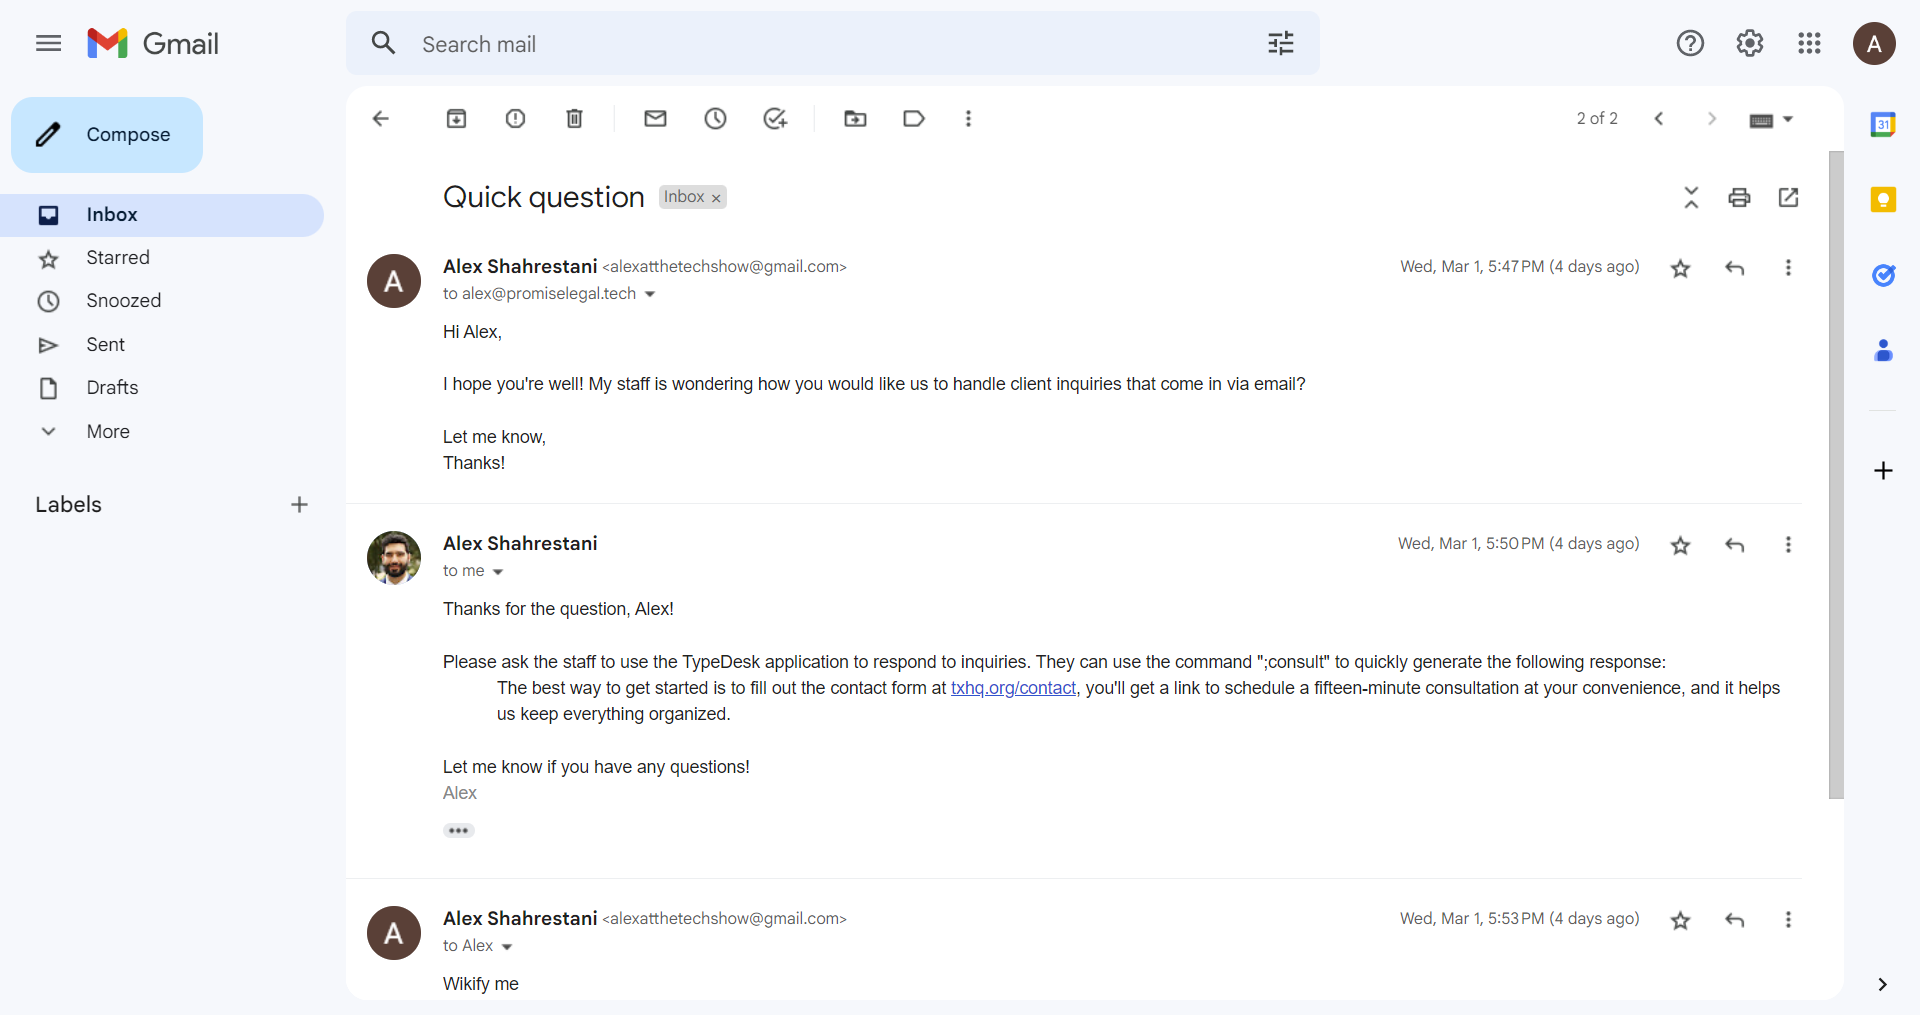
Test your Zap with a thread you would like to be turned into a wiki entry. Reply to the thread with the phrase, "Wikify me."
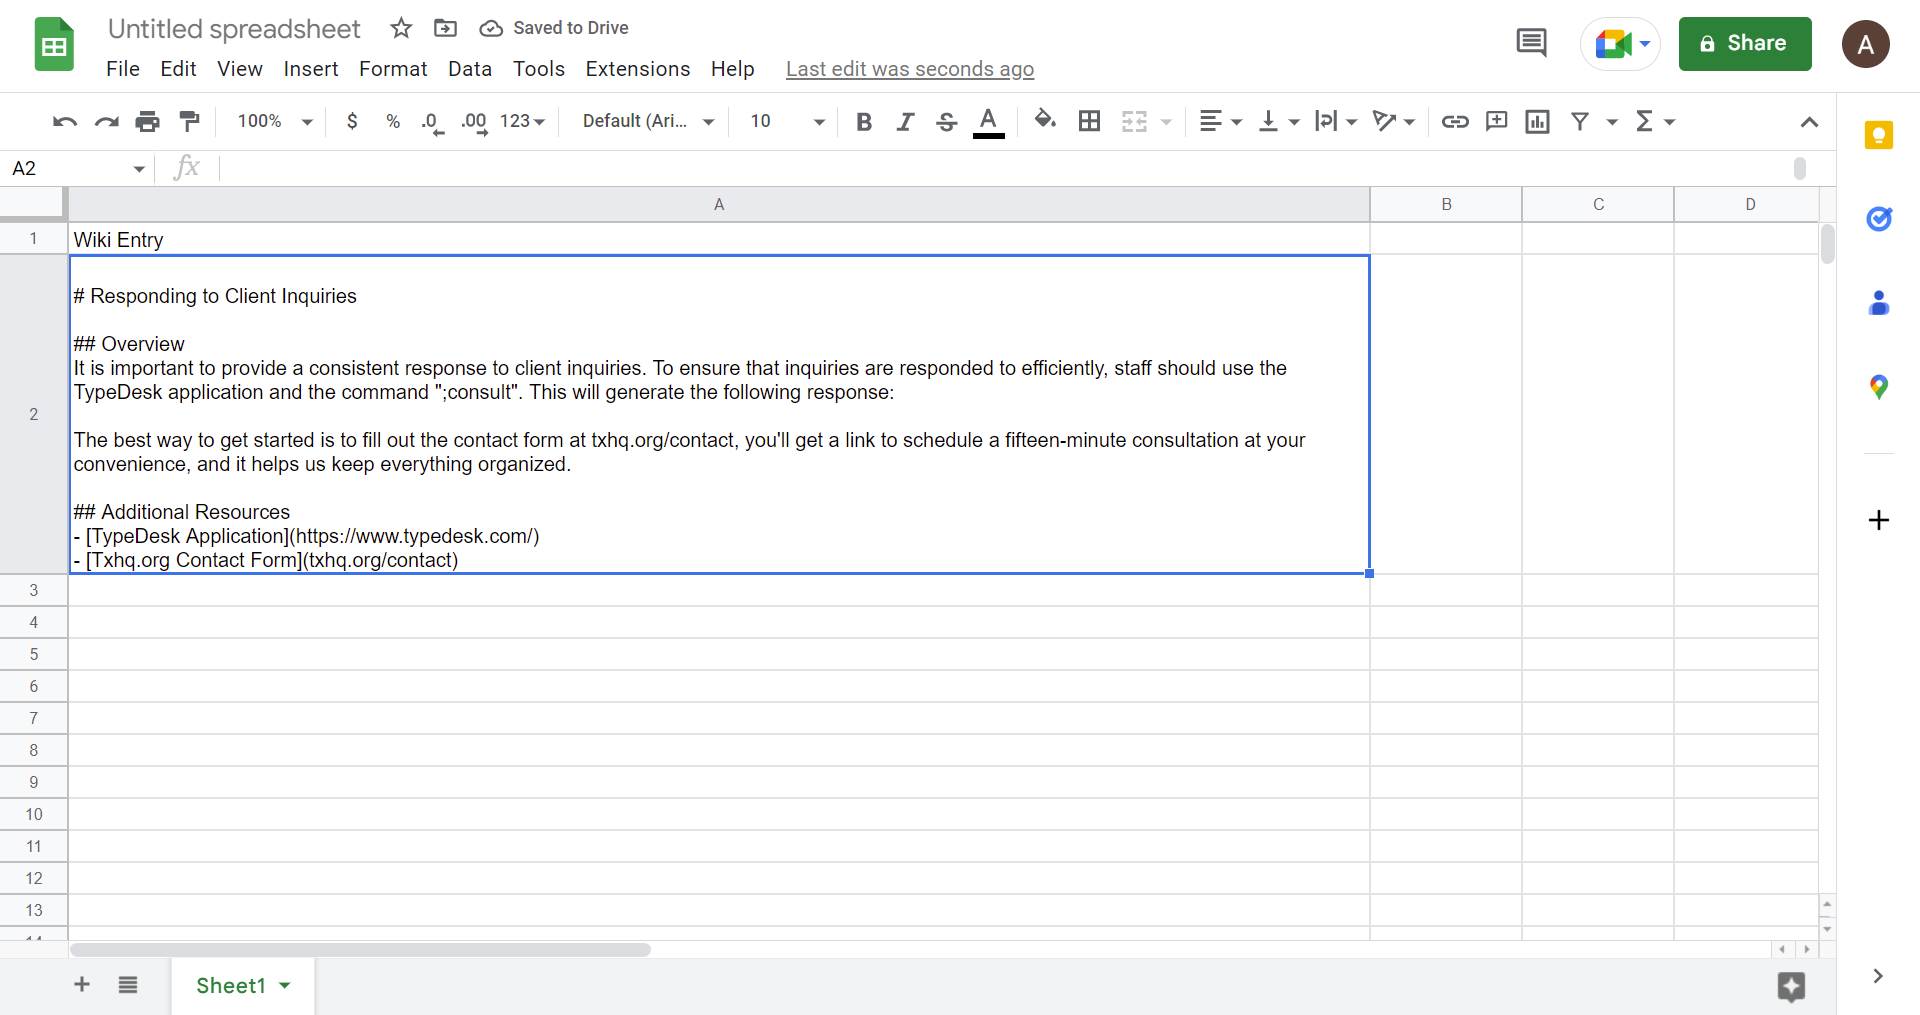
Your Google Sheet should reflect a new wiki entry based on your email thread.

Tips

  • Always click "Continue" after each step — populating your later steps with the appropriate data.
  • Test each step to ensure a proper connection before continuing to the next step.
  • When your Zap is published and turned on, there will be a delay between the email that says "Wikify me" and the entry being made on your Spreadsheet. This is typical and can take up to 15 minutes. If you aren't sure whether the delay is an error or part of the normal process, go to your Zapier dashboard, click "Zaps" and look at your Zap history. You will see an "Execution" that shows success or failure. If you don't see an execution, the Zap has not triggered.
💡
Love this content and want more? Show your enthusiasm with subscriptions, likes, and shares! That tells us what content is most valuable to readers!